Introduction to Board Selection
Technique / Beginner
Introduction
Given the ever, “exponentially expanding” variety of products available on the current market (the list seems to be growing, almost on a fortnightly basis) you'd be forgiven for being confused when it comes to choosing your first board.
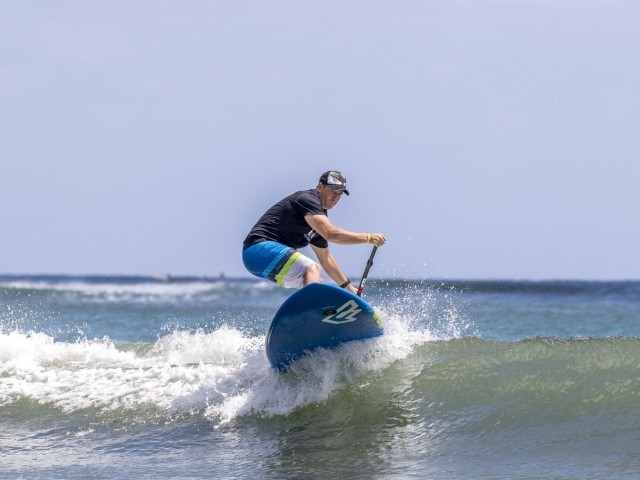
Disciplines range from yoga, long board vs. short board surfing, touring, flat water, open water race, downwinder, river, foil and group SUP boards, selecting the appropriate board best suited to your needs is starting to turn a simple "one-day event" into a “multi-stage marathon-epic!”
The objective of these technique articles over the coming years will be to improve your knowledge and skill set both on and off the water. This issue we seek to inform, assist and prepare those of you considering your initial purchase or those of you looking to upgrade your current ride in this, the lifestyle choice that we fondly refer to as SUP or Stand-Up Paddling. That being said, let’s jump in, shall we?
Identifying Your Discipline
As with most things in life, careful consideration of your environment is key. The surrounding “paddling” environment in which you expect to ride is going to play a crucial role in both your initial board selection and your overall decision-making process moving forwards.
For example, if you happen to be based somewhere that is entirely landlocked, offering limited water access to lakes and canals your board choice needs to reflect that. A 7'6" wave shredder isn't going to cut it, even if it does look rather appealing in the shop and it will fit in your car. Therefore it makes logical sense that your chosen “discipline” will provide you with the greatest amount of water time while maximising your enjoyment given the environment at hand.
This preliminary step in the process is relatively straightforward as the SUP disciplines are well divided and categorised. However, it remains paramount to consider all of the possible conditions that you may encounter using your new board, so as to get the best value for money and most comprehensive usage from your gear. A seemingly minimal amount of forethought ahead of your purchase can certainly help you achieve this successfully.
Board Size and Volume
The most common frustrations encountered on the water with fellow paddlers are often related to board size and its “partner in crime”, volume. Too little volume results in non-buoyancy, which substantially affects both stability and overall paddle ability. On the opposing side, too much volume can also negatively impact board enjoyability and your progression.
To make the mysteries of volume easier to understand, the majority of board manufacturers have assigned a “weight-group” paired with the relative volume of the board. The volume measurement itself equates to the amount of water the board will displace when submerged. If you stick a board with 80 litres of volume in a tank of water, when totally submerged it will displace 80 litres of water.
The principle is based on simple physics, a particular sized board offering a specific volume, allows the board to remain positively buoyant, in other words, it floats, up to a certain weight limit. It becomes negatively buoyant and then it starts to sink if the weight exceeds the maximum weight threshold.
Unlike other paddling sports, stand-up paddling, as the name suggests, requires you to be standing up. This means that your centre of gravity is significantly higher. This means you are more susceptible to falling over on account of being vertical, a position that is more challenging than being seated. Given the downwards force that you are exerting on the water while standing on your board, you, in turn, require a force that either equals, or is greater than the force that you are exerting on the water to enable you to remain balanced and in control.
Science lectures (yawn) aside; to ensure that you are selecting a board well within your experience and ability levels we ultimately advocate the simple principle of “practice makes perfect”.
Practice Makes Perfect
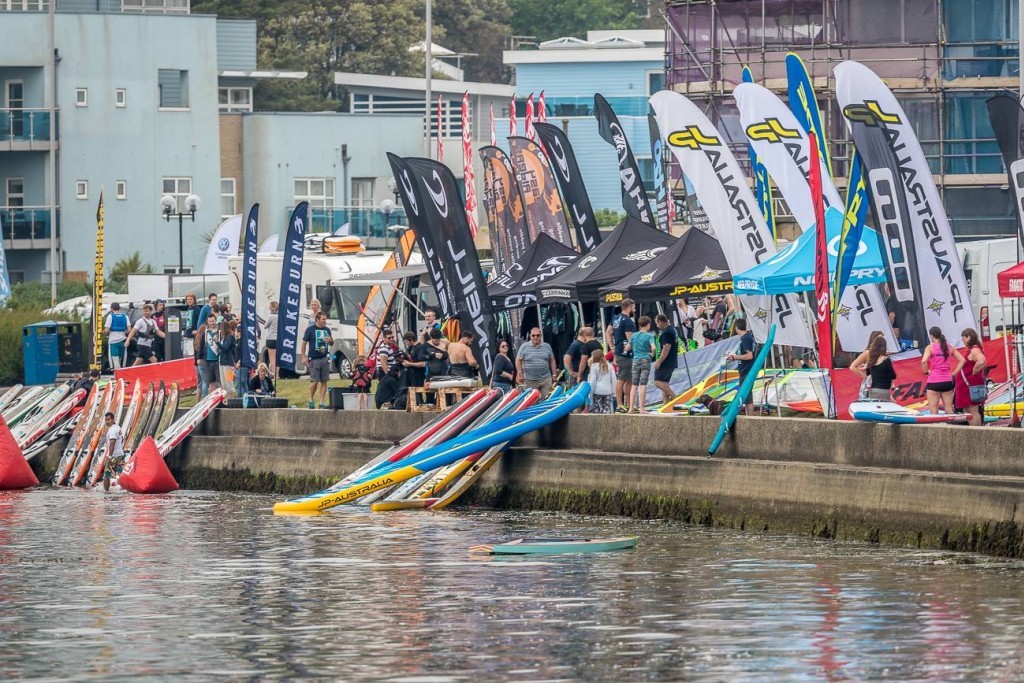
Having begun to shortlist the type of board, size and volume that is going to provide you with the greatest amount of potential water-time, practice makes perfect. We are, of course, referring to demonstration opportunities, (demo days, store demo’s, school demo’s) all of which we recommend, very highly!
Any chance to try a board before purchasing one, safely within a monitored environment, is quite simply the best possible advice that we can suggest to all of you first-time buyers out there. You will realise within the first two minutes of paddling if the board is going to be suitable for your level or not.
In most instances buying a SUP is an investment, and for the majority of us and we certainly do not want to casually “throw chance and money to the wind” and simply guesstimate what size and volume will be most suited for each of us. Make the most of each and every opportunity to test and try as many makes and models of board as you can.
The more opportunities you have to do so, the more you will understand, not just about different boards but also your abilities. This is particularly relevant for both first-time paddlers as well as those who are intending to progress, and are now actively venturing outside of their comfort zones and boldly proceeding onto a more challenging size or discipline.
Progression adds a further dimension to the board selection process because paddlers are beginning to have a better grasp and understanding of what they are specifically looking. They are now able to discern what is vaguely required and what will ultimately deliver the essential experience they are searching for, from a performance and enjoyment point of view.
It is important to understand that conditions on the day of testing can also significantly influence the overall paddling experience and potentially present a misrepresentation of gained feedback. Testing a small wave board in glassy, non-wave conditions, with no wind and zero current, is not the same as testing the same board in small to moderate swell with 8-10 knots of wind with a reasonable side current.
We firmly suggest trying the board in as many varying conditions are you can. This will certainly provide you with a much more comprehensive account as to how the board is going to respond in the long term.
Demonstration Etiquette
Finally, the highly anticipated day arrives, and you have made it to a SUP demonstration event. Having got your board for testing, you find yourself ready to enter the water. The following simple guidelines will help you to do so in a safe and controlled manner that encompasses responsible board-testing protocol.
Never take Mother Nature (the weather and conditions) for granted, the sooner you learn that, the better. Personal basics, such as applying sunscreen, rash-vests, wetsuits, booties and hoodies, etc. will all be of significant benefit with regards to adding a level of comfort if the conditions suddenly change and deem them necessary.
Safety equipment serves a vital life-saving function and as a result, it should under no circumstance, ever be taken for granted. This includes helmets and life jackets, leashes, buoyancy vests and other PFD’s (personal flotation devices) it is not worth taking the risk – wear the gear.
Adjusting The Paddle/Blade
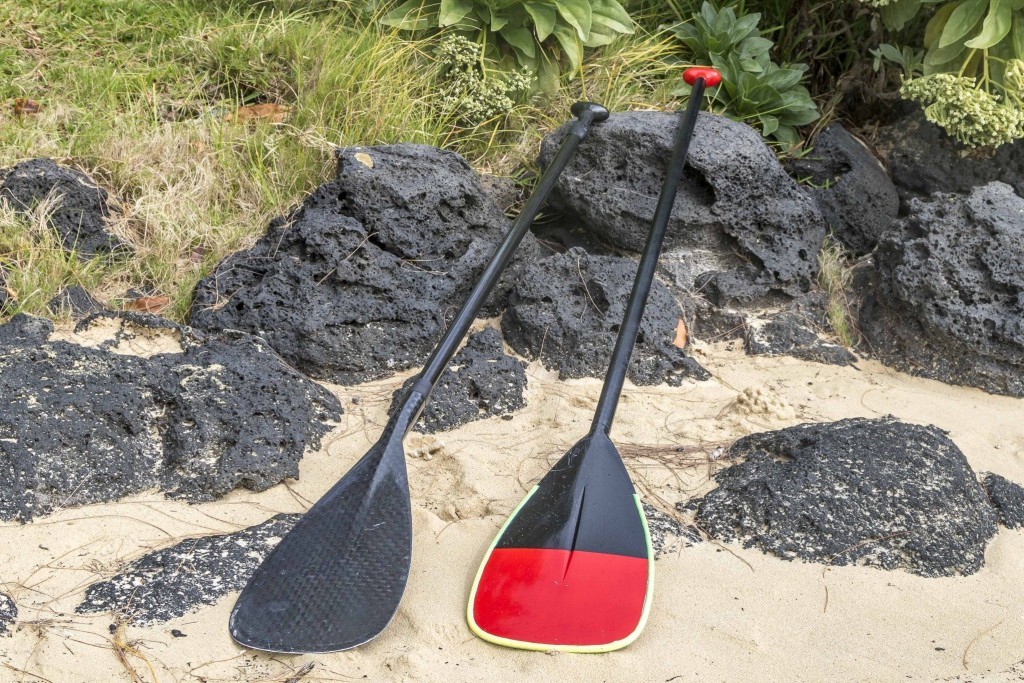
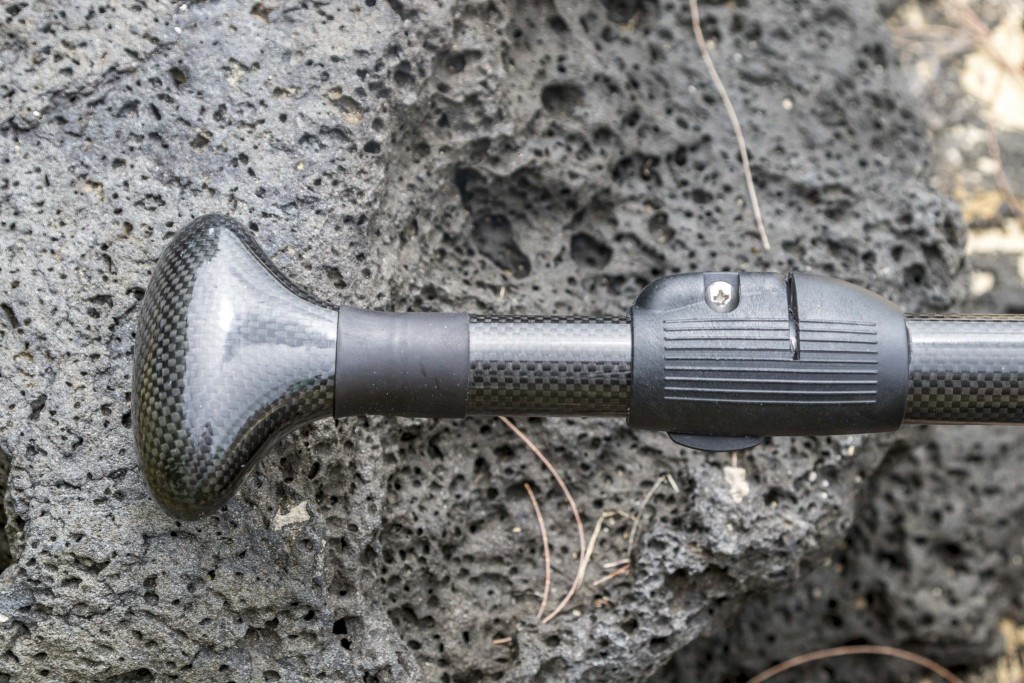
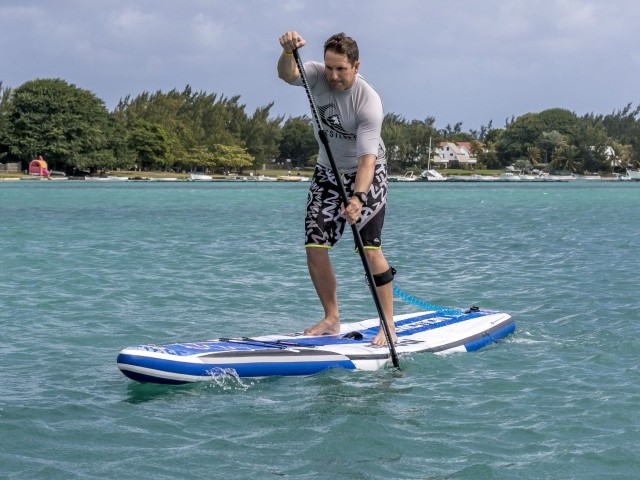
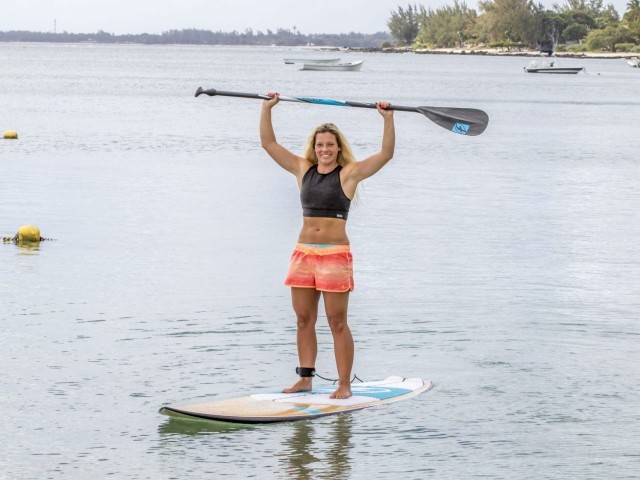
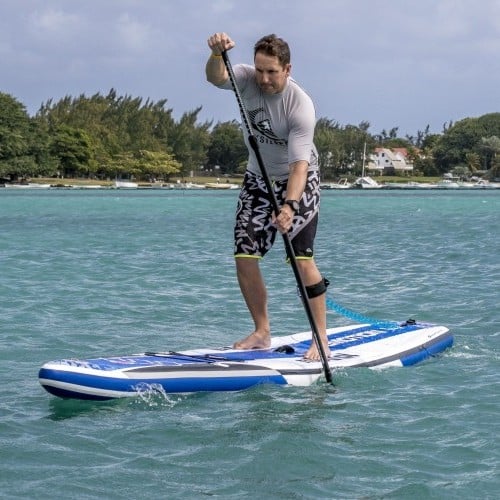
In most instances, demo days and indeed schools will make use of adjustable paddles. The general rule of thumb used when setting paddle length is to have your arm comfortably above your head, with your hand on the T-bar and the paddle blade resting on the floor at your feet. The paddle should roughly be your height, plus 6-8 inches. This setting is intended to optimise your paddle stroke for the majority of paddling disciplines.
For more technical racing some paddlers prefer a slightly longer shaft length, your height +8-10 inches, this can provide increased reach and draw potential. For surfing, a shorter shaft length helps to improve movement and agility, but we will explore this in greater detail in the following issues to come.
It is perfectly reasonable to feel initially that the paddle length, out of the water, seems too long for you. You need to bear in mind that once you are in the water, the paddle head will be submerged added to the thickness of the board on which you will be stood on, this all helps to reduce those temporary feelings of awkwardness.
Paddle height is a personal preference, and there is a trend towards shorter paddles at the moment, especially in the surf scene. However, follow the above guidelines initially to ensure you have the best experience possible, then experiment as you gain more experience or become more specialised.
Carrying Your Board To The Water
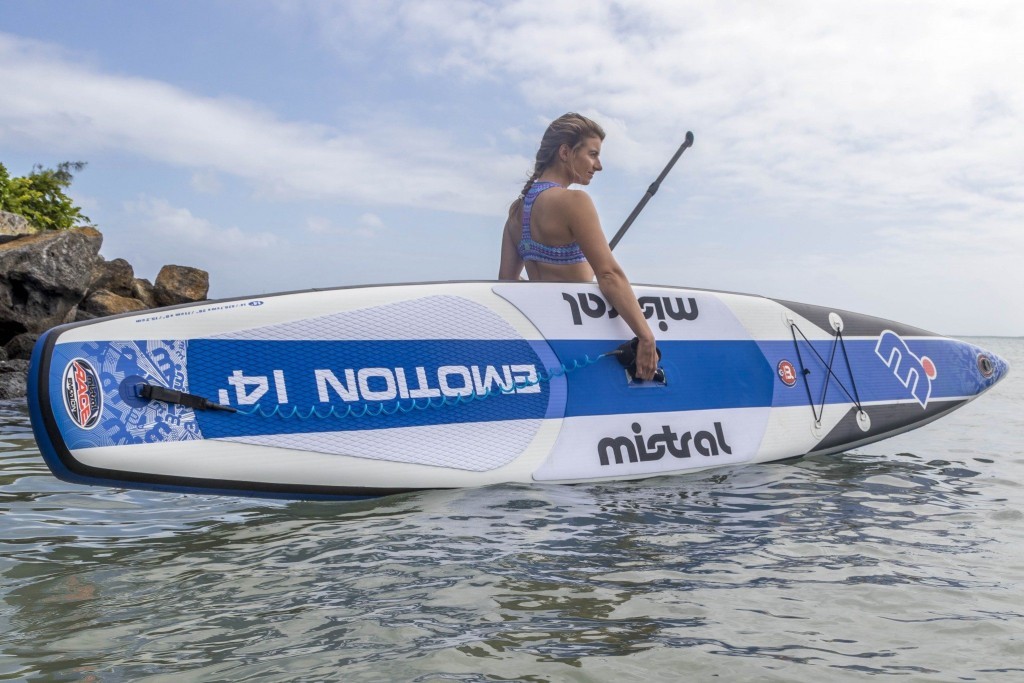
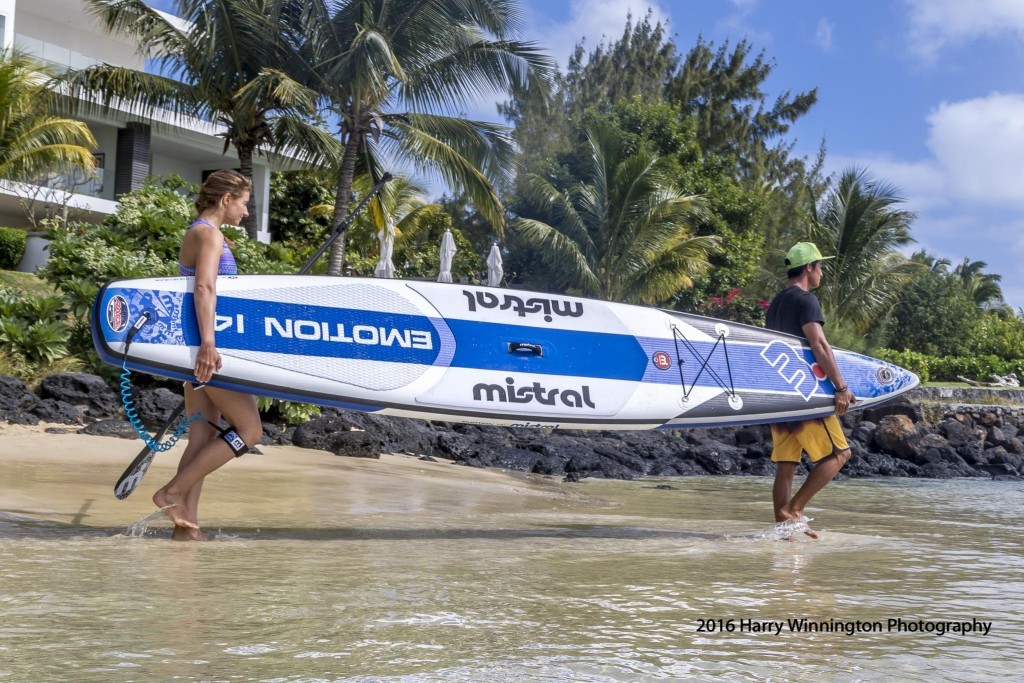
Modern SUP boards are fitted with an assortment of aids to help you get on the water. These range from carrying handles, straps and milled out holds that are positioned in the centre and middle of the board deck, allowing for a well-balanced carrying position. If you cannot manage to carry the board on own, ask for help and simply carry the board in pairs, head and tail formation.
Always remember that dragging the board across the asphalt car-park on its nose or tail is certainly not going to score any points with the local shop/school/club or owner, so don’t do it.
Mounting Your Steed
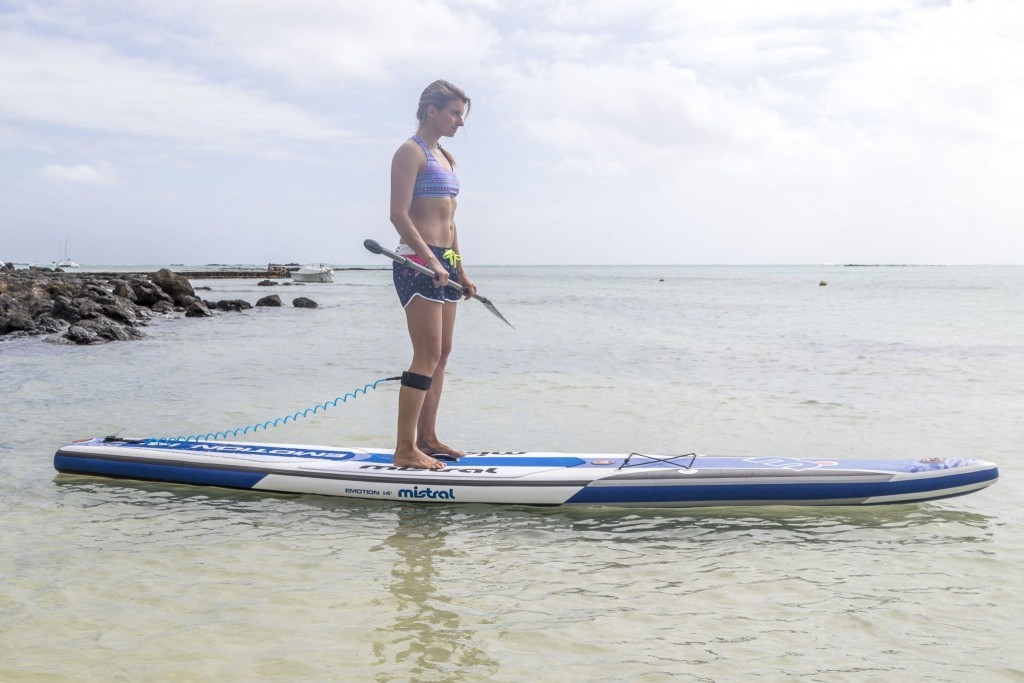
We mentioned earlier, your centre of gravity is raised considerably in SUP, so it is advisable to walk the board out to knee depth before you get on. This will not only ensure you don't damage the fins but also provide some impact protection when you inevitable fall in!
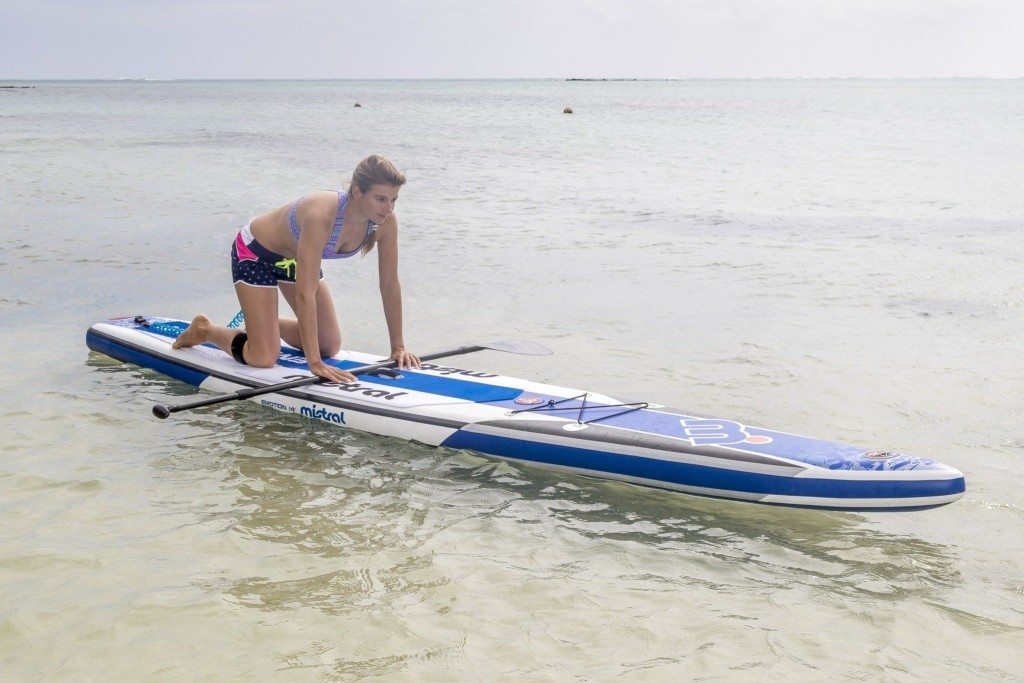
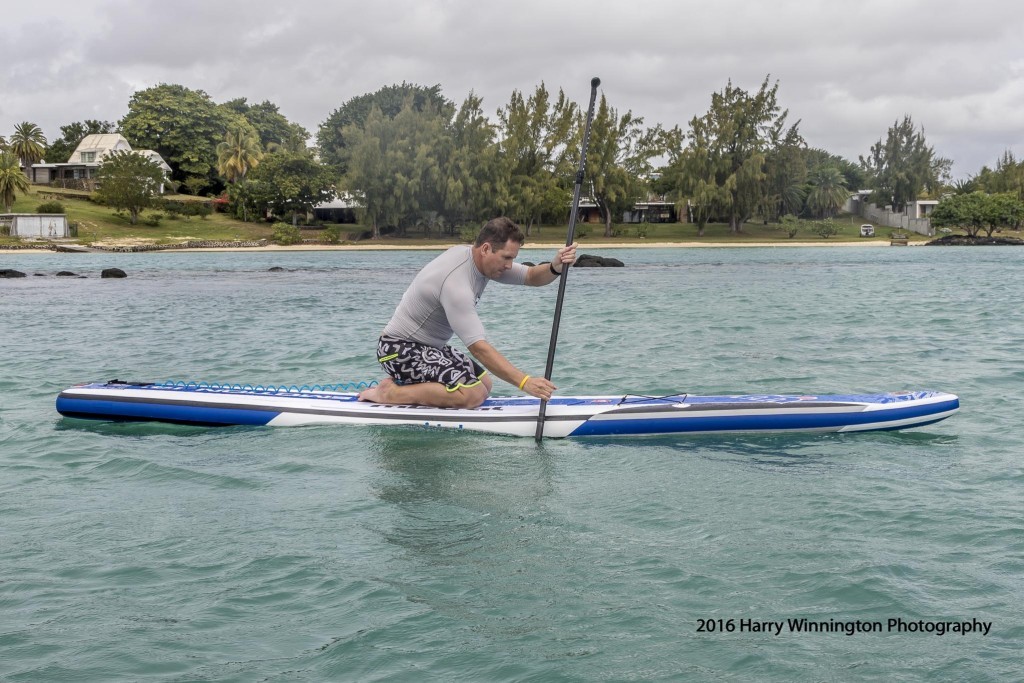
Remember to firmly secure your leash before attempting to climb aboard (safety first). Placing the paddle laterally across the mid-nose section of the board and firmly grasping the board rails, mount the board on your knees ensuring that you position them in the centre. The majority of deck pads or board decks will have a centre line running through them, where the board stringer would usually be, that visually illustrates “plumb” centre.
Placing your knees on either side of the centre line, roughly shoulder width apart will provide you with the appropriate balance to get started. If you find the nose of the board is dipping under the water or, you find yourself closely emulating the “Titanic’s” final graceful moments before she headed for the bottom of the North-Atlantic, you have not centred yourself correctly. Shift your position either forwards or backwards, towards the central balance point of the board. The location of the carry handle/strap/insert presents a good starting point to position your knees as this usually denotes the board centre.
For your initial paddle stoke, remember that the kickback angle of the blade head faces away from you. It may seem awkward at first, but the purpose it serves is to increase your reach in the water. Allowing you to stretch further forward when you paddle and provide you with a greater paddle draw stroke. Allowing the blade head a longer period in contact with the water and adding increased efficiency to your technique.
Starting on your knees, you may find that holding the top of the T-bar with your upper hand is uncomfortable. It is recommended to slide your top hand down the paddle shaft to a more suitable position. Usually just above head height with your lower hand resting just above hip height. This will provide both a comfortable and efficient paddling while still in the kneeling position.
Momentum Is Your Friend
As with so many sporting pursuits, momentum benefits us greatly in contributing towards overall stability.
Trying to balance on a mountain bike in one spot without pedalling requires a fair amount of concentration, patience and balance. However, once you have started riding in a straight line, the balance comes naturally. It’s almost as though our minds have a tendency to over-think the given situation when we are stationary and respond with a frenzied series of movements and counter-movements to maintain our composure.
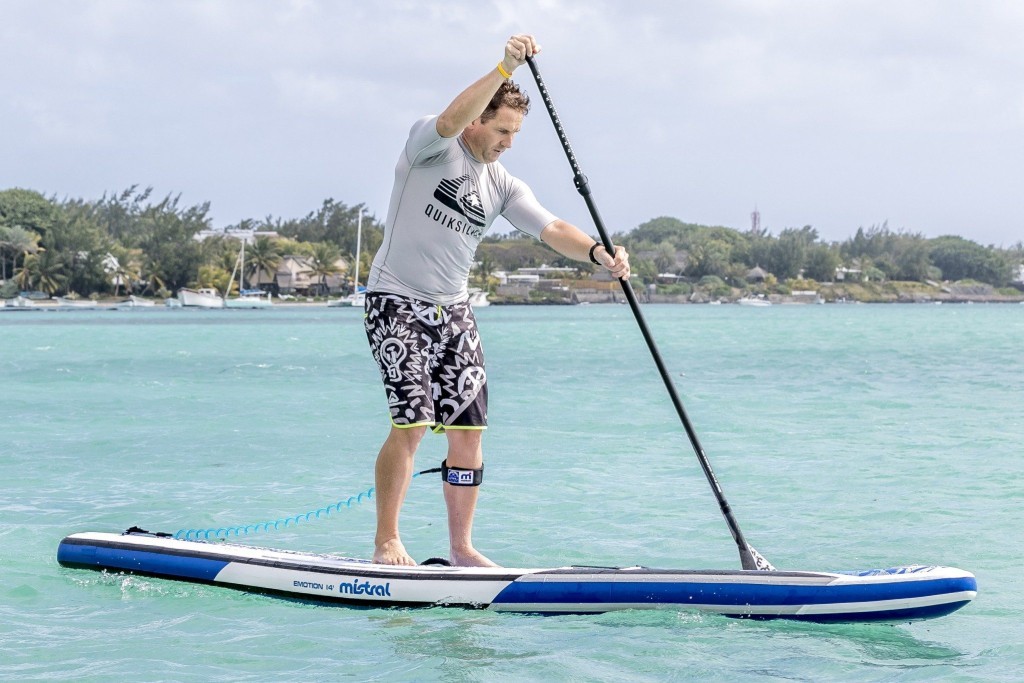
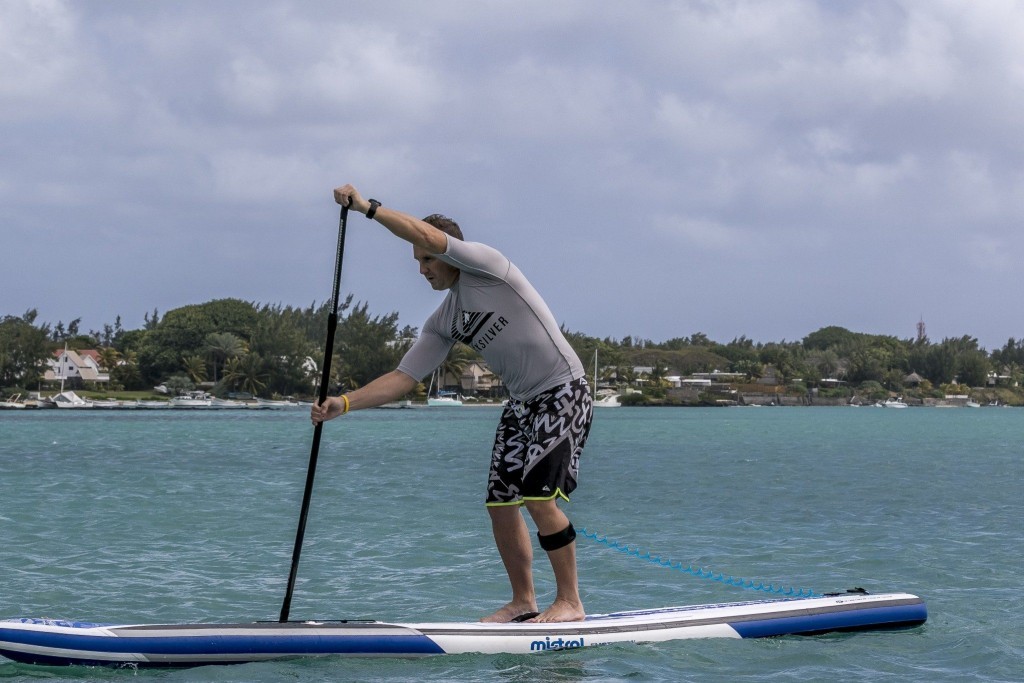
When we begin to paddle it consciously provides our mind with a repetitive task structure that allows our natural senses take over and control our bodies without thinking too much. Looking ahead, not straight downwards at your feet, along with bending your knees, to absorb small waves and chop, should significantly improve your overall stability.
Falling
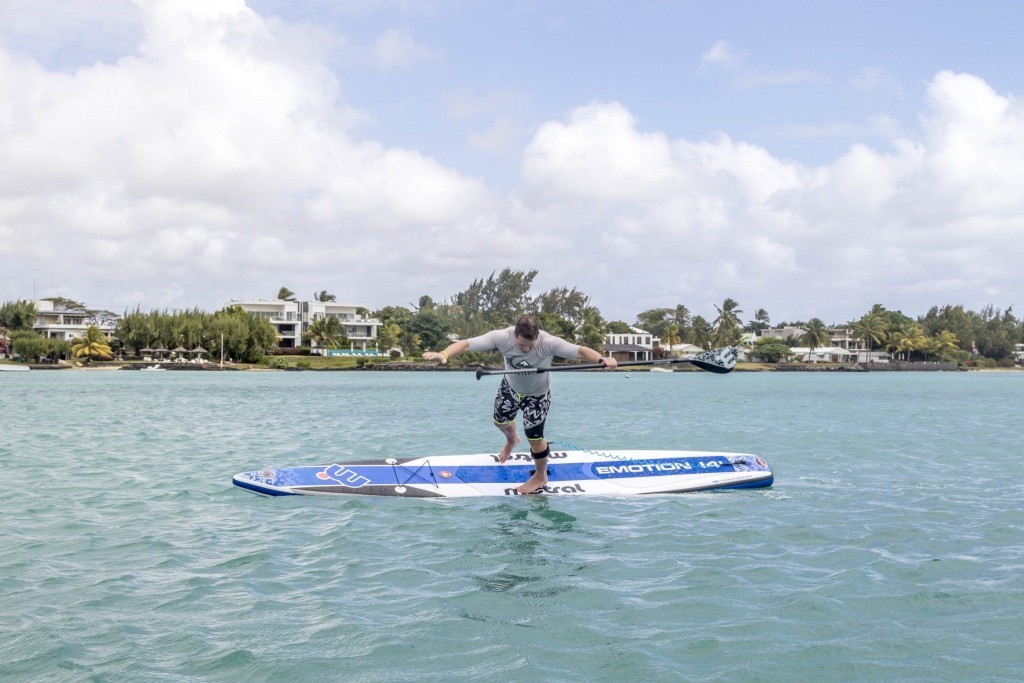
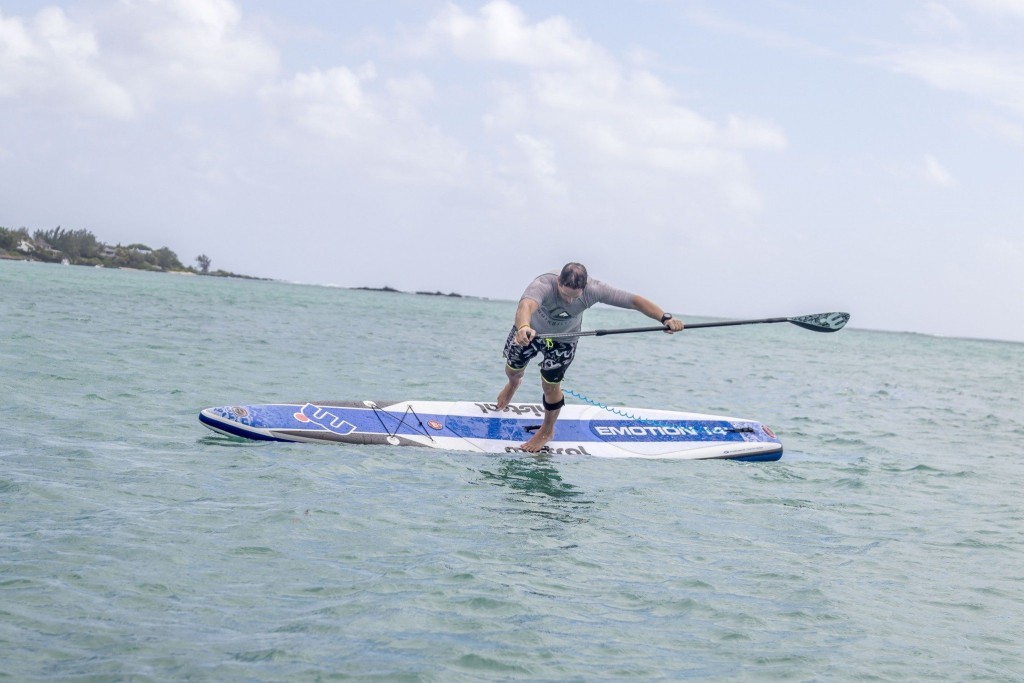
Anything in life that involves momentum will ultimately include falling sooner or later; SUP is undoubtedly no exception. The level of gracefulness, however, in which we each get to execute these spectacular impromptu dismounts requires a combination of both practice, added to a healthy dose of dedicated ineptitude, in equal share, to completely master.
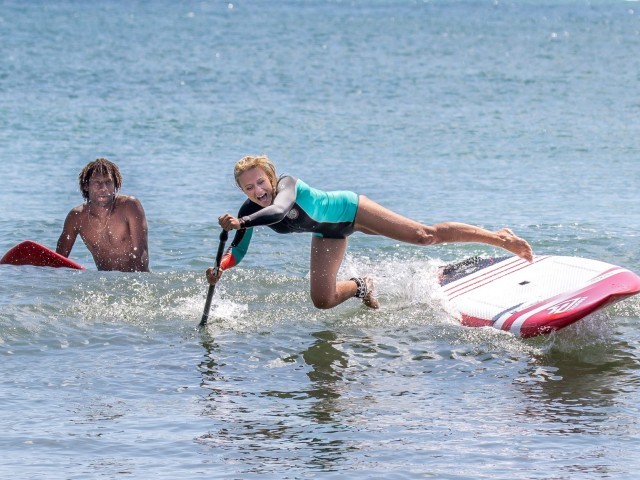
Joking aside, serious head injuries are far from being a laughing matter. The consensus to falling off a SUP is to commit yourself freely to the fall. If you feel yourself losing control, best go with it and throw yourself clear of your board as opposed to trying to make the necessary last-minute corrections to regain your composure and risk becoming one with your board on the way down.
Basic Paddling Technique
Before we delve into discussing basic paddling technique (paddling techniques will be covered in greater detail - according to each specialised discipline over the forthcoming issues), it is considered pertinent to mention a simple, yet highly effective, rule graciously borrowed from both Kitesurfing and Windsurfing communities.
When venturing away from shoreline/lakeside/beach:
“Never, ever venture further away than you would be comfortable to swim back”.
Bearing this sobering thought in mind, let’s cast-off.
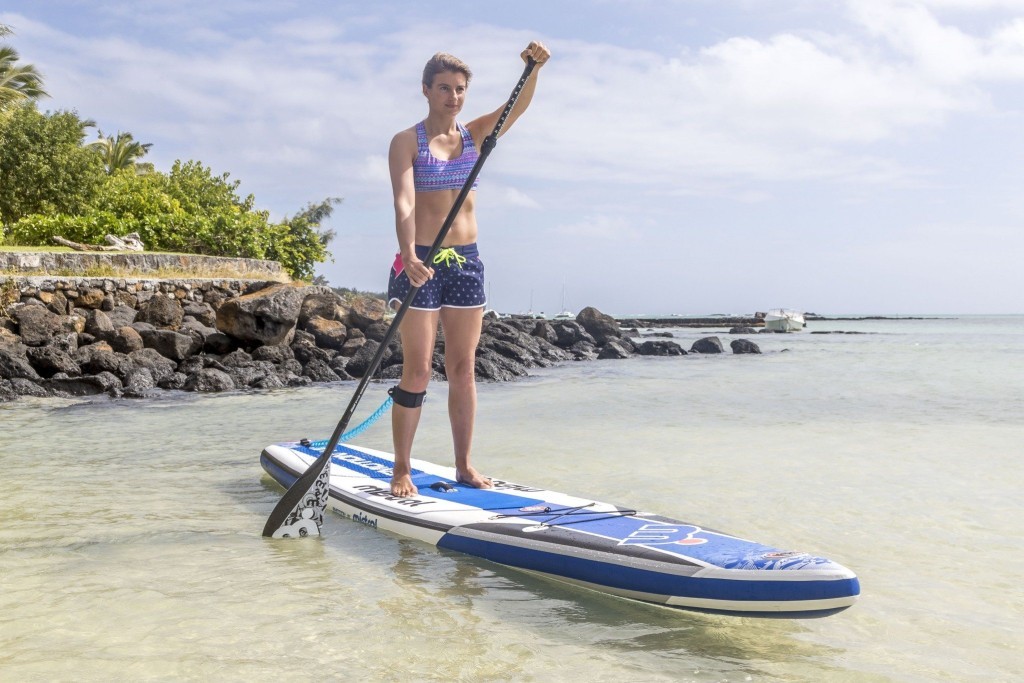
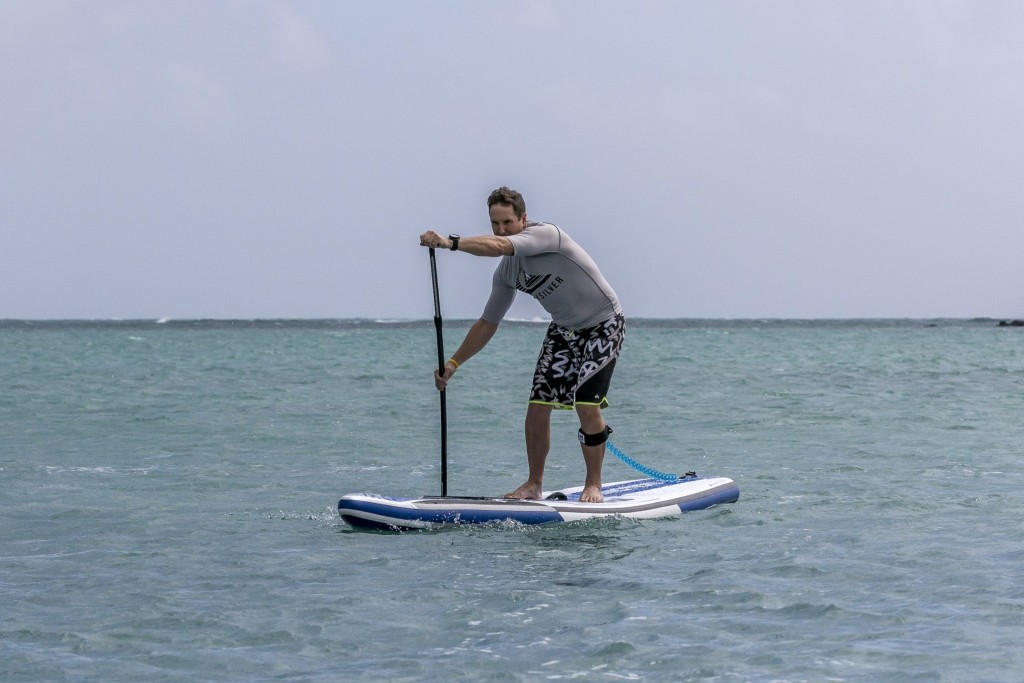
Begin by planting a blade stroke at the nose of the board and drawing back towards your hip. Remember to use your entire upper body and not only your arms, as this will ensure that you conserve energy and increase your stamina and endurance. Concentrate on drawing a clean stroke by placing emphasis on both smooth water entry and exit positions with the blade. The board’s rail can be used as a “hypothetical guide” to draw a straight-line stroke by allowing 1–2 inches of clearance between the paddle shaft and the rail.
Do not rest the paddle shaft on the board’s rail as this not only reduces the overall efficiency of your stroke but also results in damage to the paddle shaft, blade head and the board rail itself.
It is advisable, to begin with short, quick paddle strokes with a swift hand transition in-between. Switching from right to left or left to right depending on comfort. Basic manoeuvring should be practised at this stage while still on your knees, stopping, reverse paddle strokes, biased strokes, (exaggerated strokes at an outward diagonal angle) that will be of benefit in negotiating sharp turns.
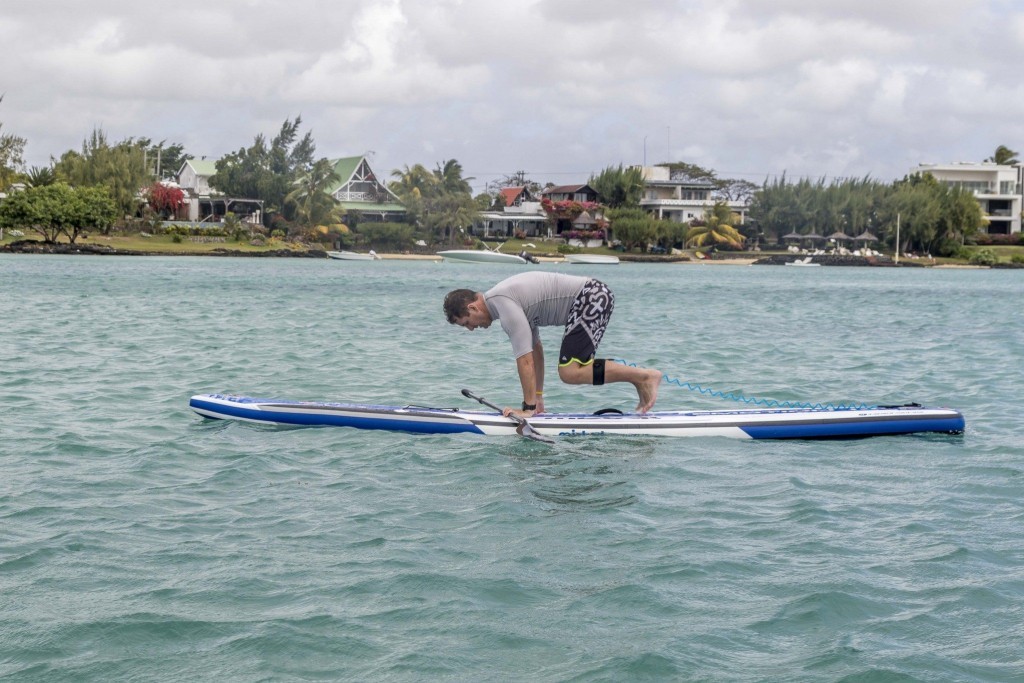
Now that the basics have been covered – it’s time to get to your feet, by planting them (in the slight indentation in the deck-pad) where your knees were, and begin to draw more powerful strokes by driving with your upper shoulder and drawing, pulling towards your hip, with your lower arm.
Remember when heading back to the shore, be cognisant of the fact that you have fins underneath your board so don’t try to ride you board onto the beach, rather slow your approach and steady yourself. Drop to your knees and paddle to a point in which it will be suitable for you to stand as you did when you departed the shore (knee depth is fine). Dismount your board by reversing the to steps mentioned in mounting earlier.
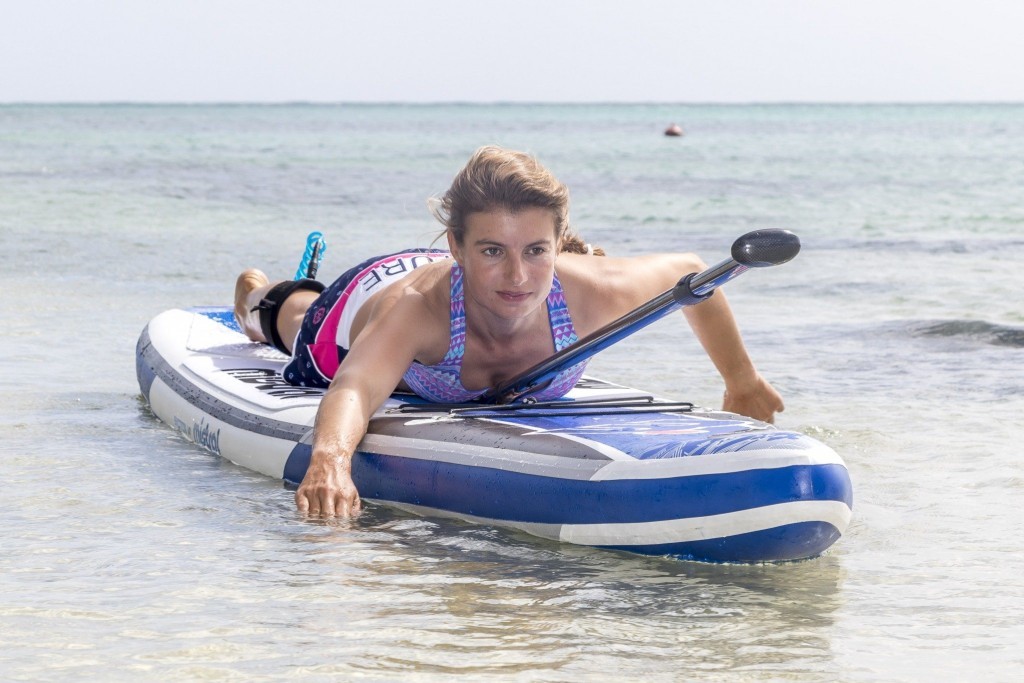
In some instances, an offshore wind can come up making it difficult to return to shore. In the event of this happening, do not panic! Calmly drop back to your knees; reducing the surface area that the wind was pushing against, it was using your body as a sail. You can then stay on your knees and carry on heading to shore. If the wind is still making progress difficult, place the blade head flat on the board with the kickback raising the paddle slightly off the deck and the T-bar off the nose of the board. Lie down on the board by placing your chest on the paddle blade hear to hold it securely in place and paddle back to the shore using your arms surf-style.
Success!
Brimming with enthusiasm and positive energy having negotiated your series of demo day’s, you are ready to take the next step and invest in your first board and paddle with a great deal, more insight than you had in the beginning. But, before you do so, there is one final consideration.
Logistics
Your mode of Transport and accommodation/storage is also something that needs to be taken into consideration before taking proud ownership of your gear. Arriving to collect your new 16ft downwind “beast” on a moped is going to be an epic fail!
Equally, if you happen to live on the fourth floor of an apartment block offering no garage facilities, your new 14ft + carbon flat-water race board is going to cause all manner of headaches for both you and your neighbours. Yes, there are many a tale out there of paddlers having to lower and recover their gear through apartment windows, which is not at all recommended, for all of the blatantly obvious reasons.
Final Word
Give each and every aspect careful consideration ahead of ultimately making a decision, do not rush or feel forced into anything. Be openly receptive to helpful advice from “all” of your fellow paddlers around you, we have all had to start somewhere, and we have all certainly been in your position before, always remember that. Pair that with a healthy respect for your environment and try to act responsibly both on and off the water.
Above all else, this is a lifestyle choice and if you are not having fun, don’t do it!
Sunshine, smiles and safe paddling, till next issue!
This technique article was in Issue 1 of Tonic Mag.
Related
By Bryn James
Bryn is a highly respected waterman who is very popular amongst his peers. Having been the competition director for the longest running multi sports events (Jeep Apparel South Coast Carnival in South Africa), he continues to be a fierce competitor in professional SUP and Kitesurfing events, spanning 15 years. His affinity for the sea has no bounds and he is perpetually motivated to share positive ocean experiences with everyone he meets!


