
Duck Gybe
Technique / Wing Foil

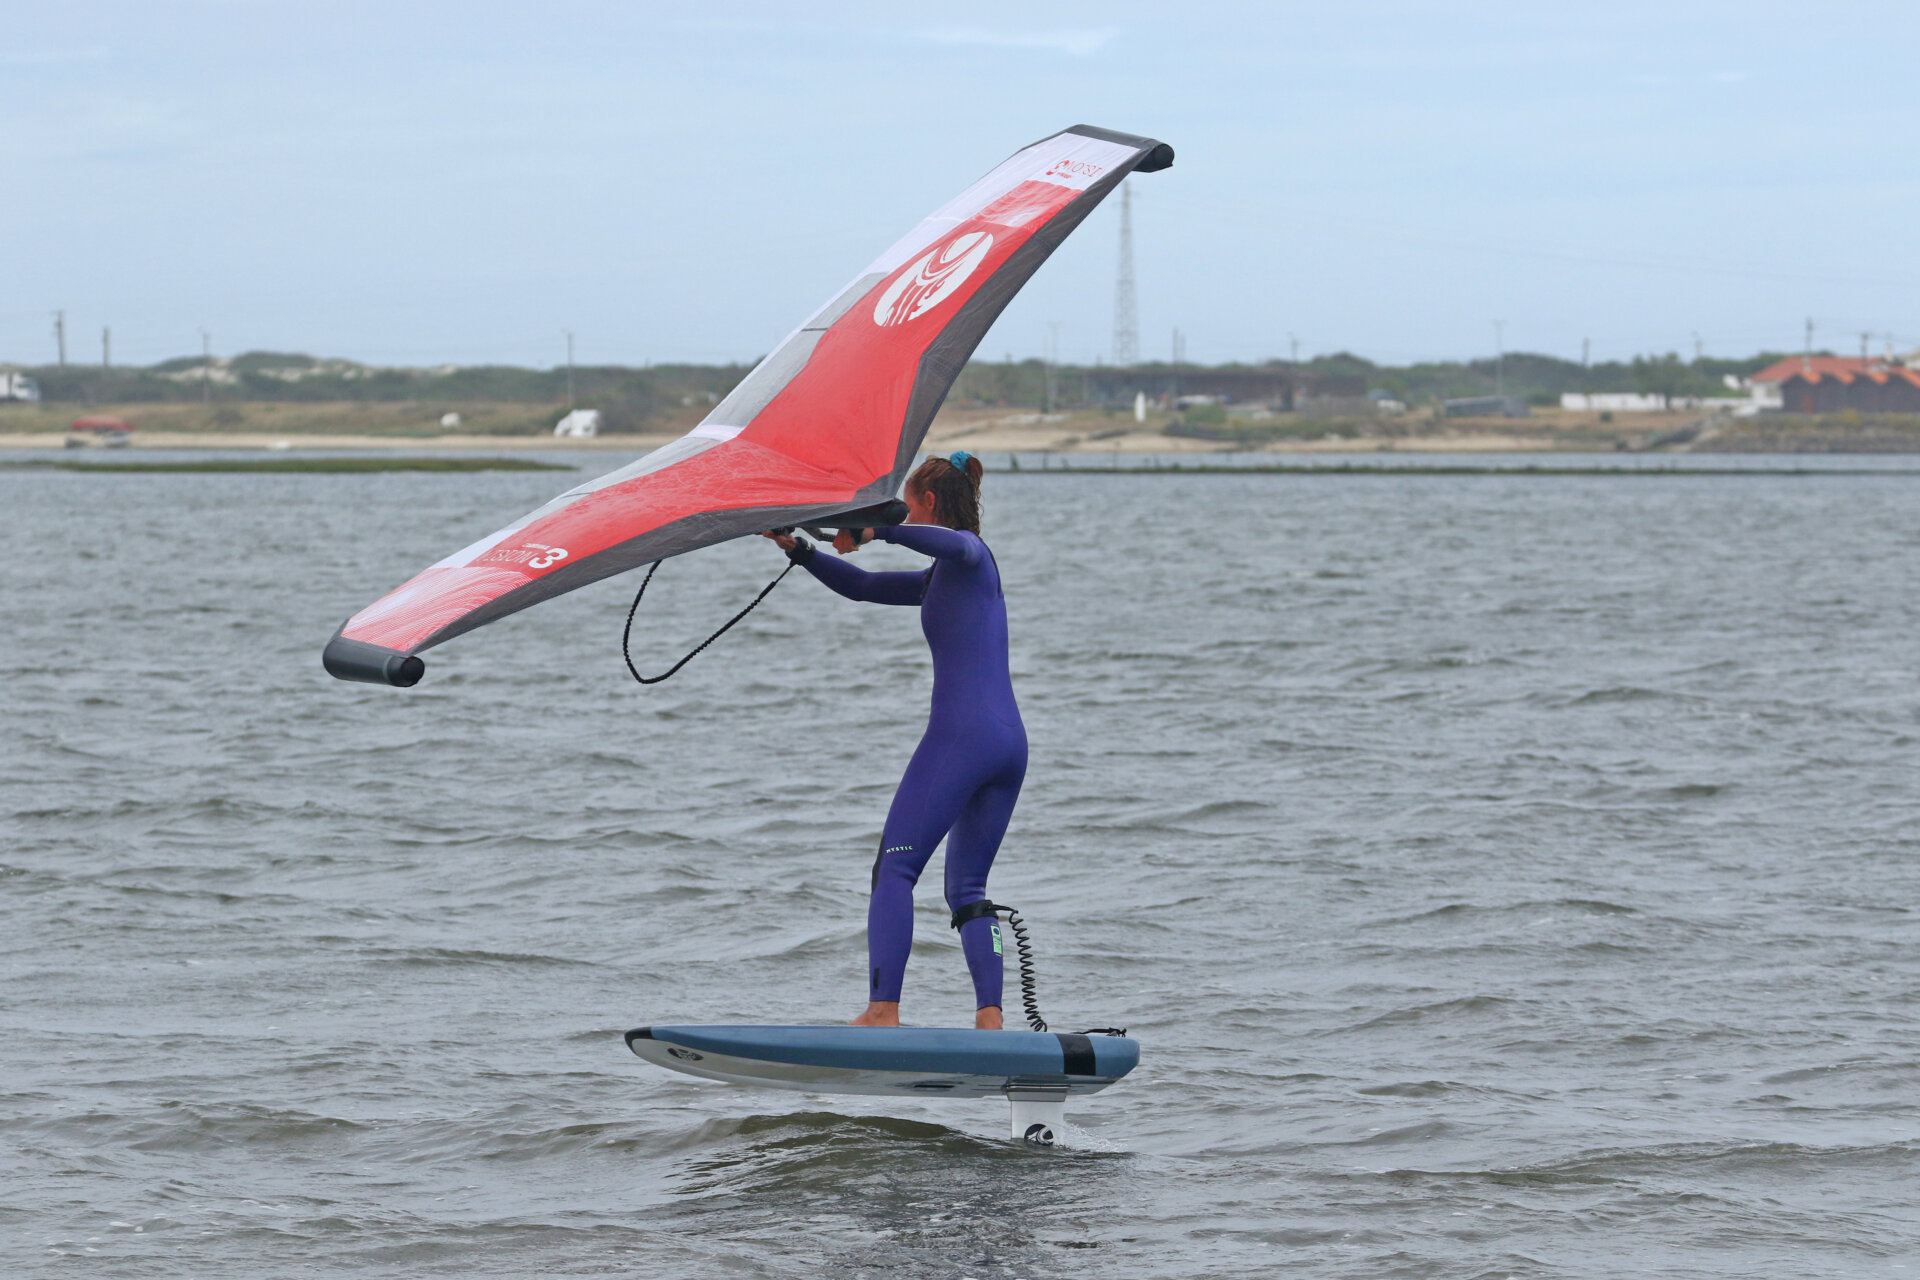
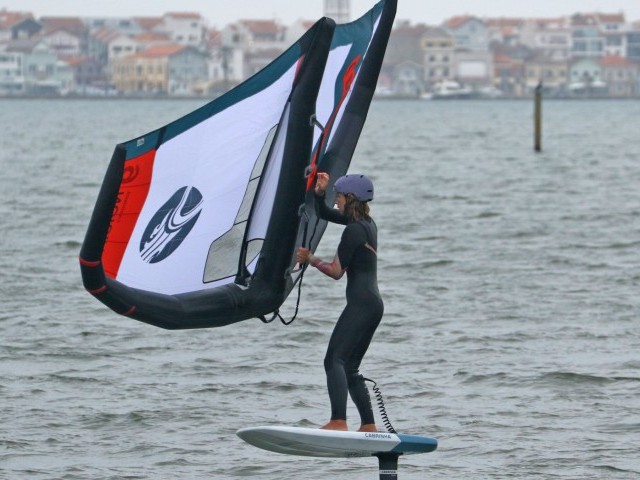
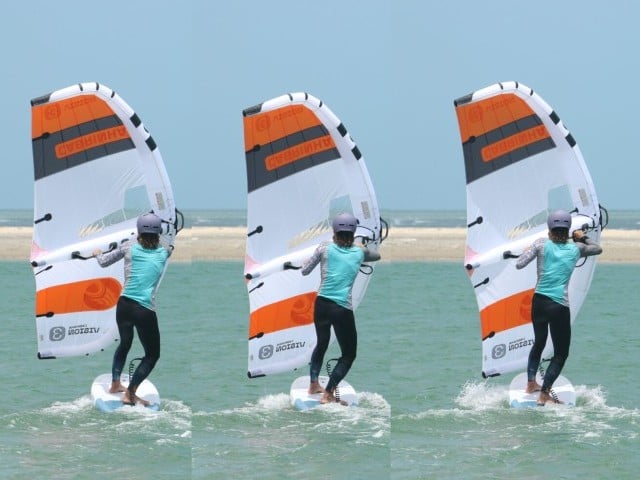
The Duck Gybe is a personal favourite. Not only does it feel fabulous and look amazing, but it’s also pretty functional! Due to the movement of the wing, you’re far less likely to get backwinded by your induced wind when it’s light, and the wing’s movement gets the power back on sharpish. What’s more, if you’re happily gybing, meaning that your carve is solid and your toe side is up to scratch, the duck gybe is an exceedingly achievable alternative to your regular gybe—time for some showboating.
So, what is it? You'll have a good idea if you come from a windsurfing background. For the rest of you, have a look at the Sequence. It’s still a gybe; you’re carving broad reach to broad reach, and you’ll swap hands in that downwind zone. However, what you do with your hands and wings is entirely different. You’ll let go with your front hand as you carve through your gybe! This will drop your wing’s leading edge down into the inside side of your turn. You’ll then swap hands on the rear handle before reaching down for the front handle and lifting it back into position as you exit toe side. You’re ducking it rather than flipping it!

As you’re already happily gybing (if not, please check out the heel-to-toe gybing video here), we’re going to concentrate on two things: the when and the how, or, to put it into our usual language, the timing and the action.
Timing
Timing-wise, the duck gybe will be similar. You’ll be searching for that same downwind zone. In the duck gybe, this timing will help for several reasons. Firstly, you’ll have your carve on, so it’ll be easier to keep carving! Secondly, getting your body into position and releasing your front hand will be more intuitive as you approach downwind before you pass through downwind. The action will also be smoother. And finally, as you come through downwind, you’ll be in a better position to lift the wing into your usual toe-side position.
The Action
There is one caveat before we look at the action and how it fits in with your gybing skills. Depending on how you ride, your hands may be underhand or overhand, and you may end up either of the two post duck. Finding what suits you and is comfortable will increase your chances of success. However, yes, there’s always a BUT! You must keep your wing lower when learning to enter the duck gybe. An overhand grip on your front hand will help.
All the same rules apply as per your gybe. Get yourself ready:
Make sure your feet are positioned for the gybe, potentially more offset. Move your back foot a touch forward to help with your eventual toe side. Approach upwind to get your bearings.
Move your hands forward on the handles. This helps keep the leading edge of the wing over your board and the wing down rather than pointing to the outside of your gybe and lifting up. Once it travels up and out, ducking becomes very difficult.
Bear away to get yourself over the board and balanced. However, do this more gently and keep the wing down with your front hand. Don’t sheet in too much, as this will encourage the wing to fly forward toward the outside of your turn and up. If you feel the wing moving up, sheet out.
Flex your ankles and drive your knees forward and across the board to set your carve. Once you’re on track, it’s all about the duck.
Back to the action…
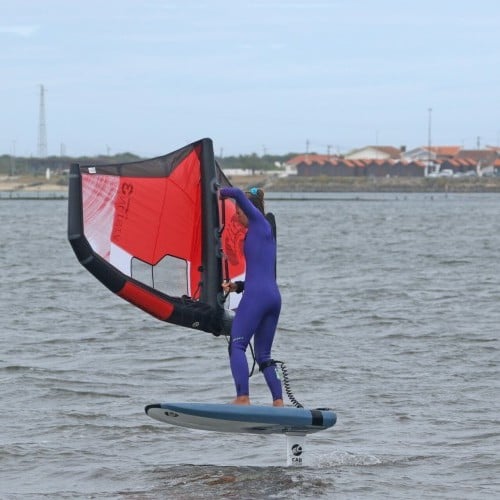
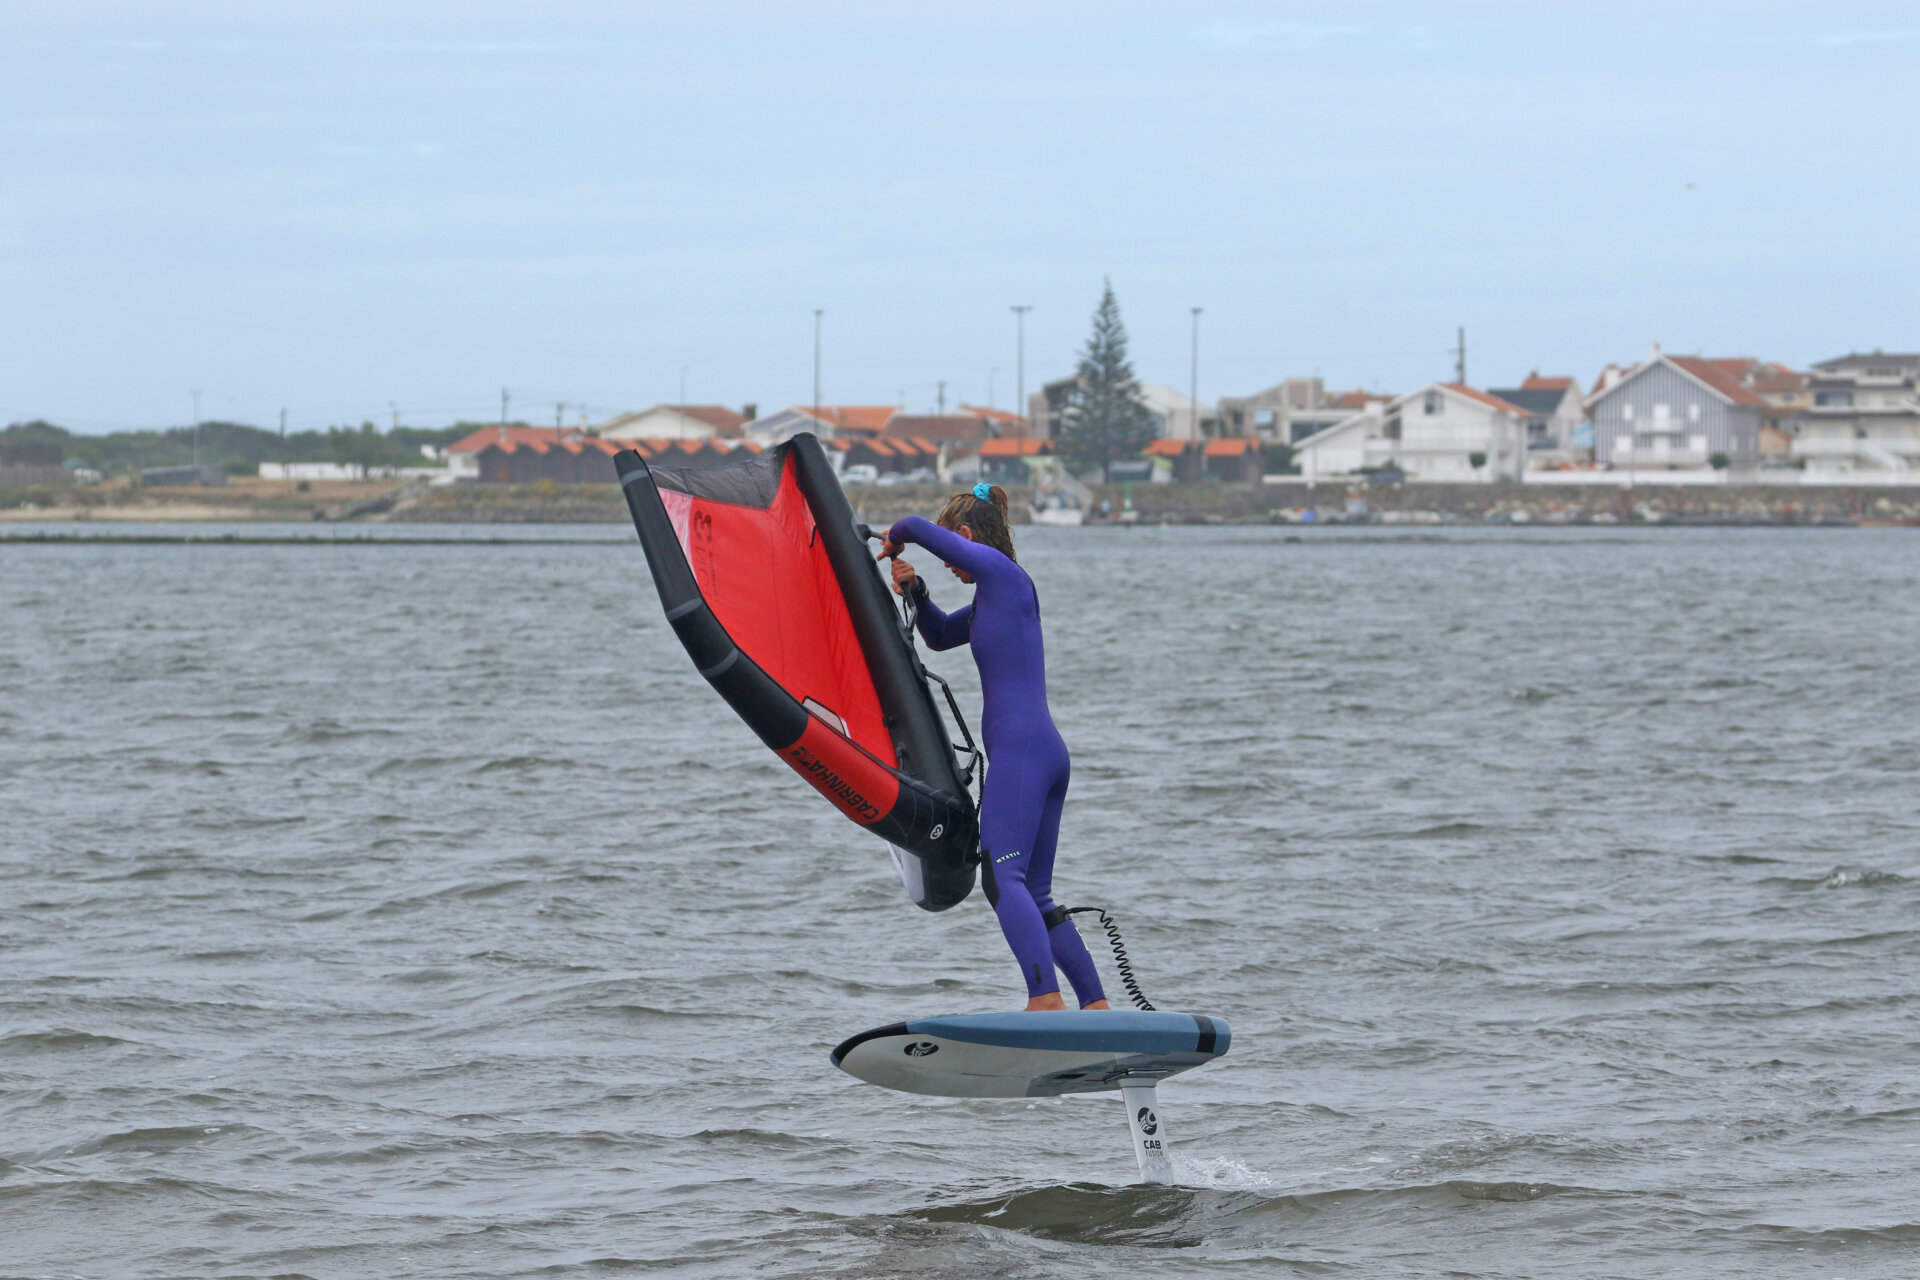
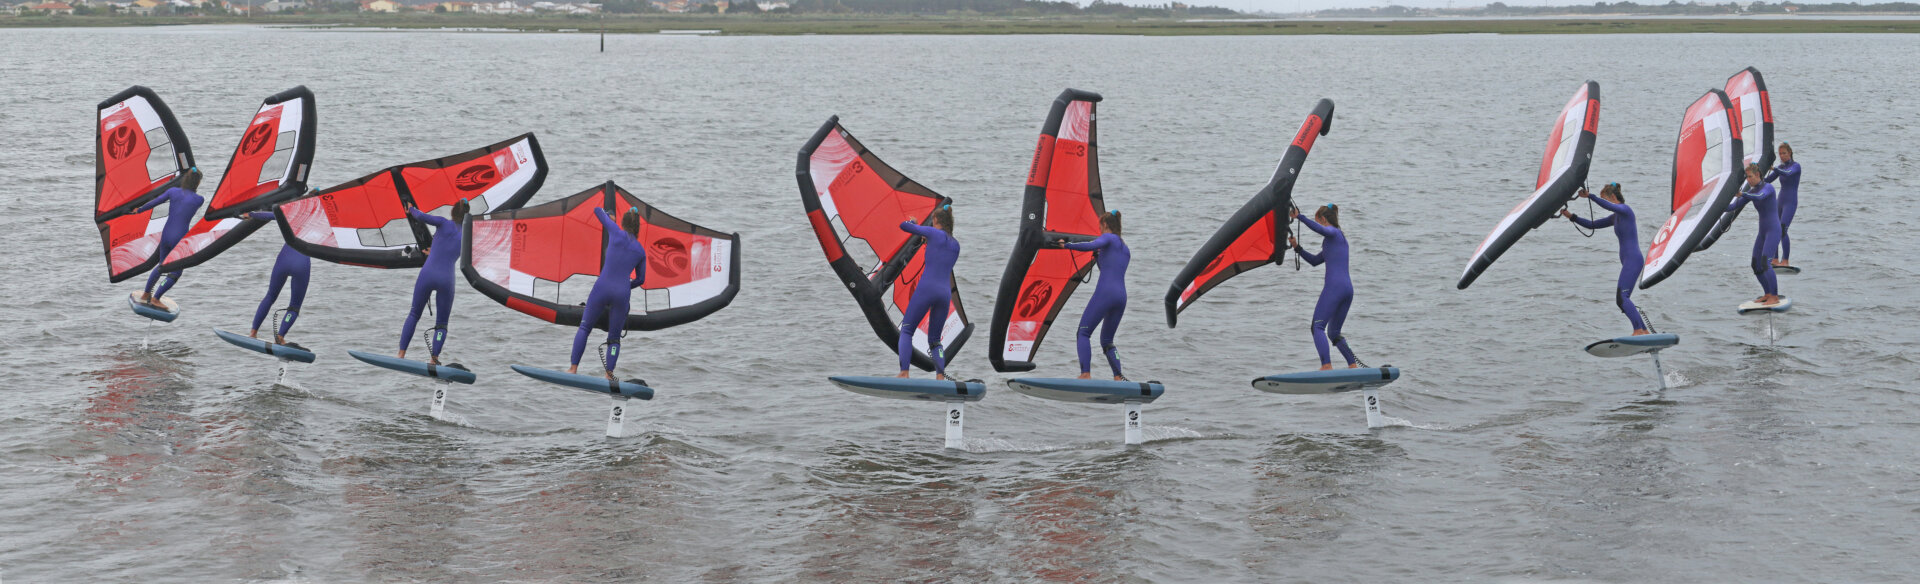
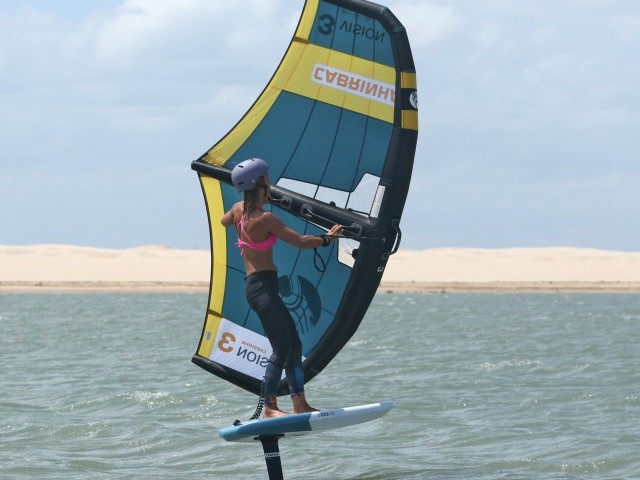
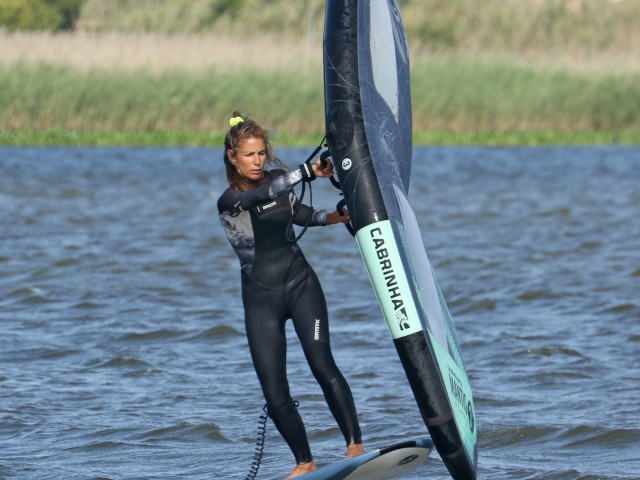
Wing Low Pic A.
Karine has got her carve on. She’s approaching downwind. She’s kept her wing low, and her front hand is held over the nose of the board, following it around the turn. This will be easier if you have your front hand further forward on the handle. Karine turns her head, shoulders and hips to face more towards the inside of her turn. She bends her back arm to keep the wing in close. This combination sheets the wing in. In this position, the wing won’t pull as much as you approach the downwind zone, and the next steps will feel more intuitive.
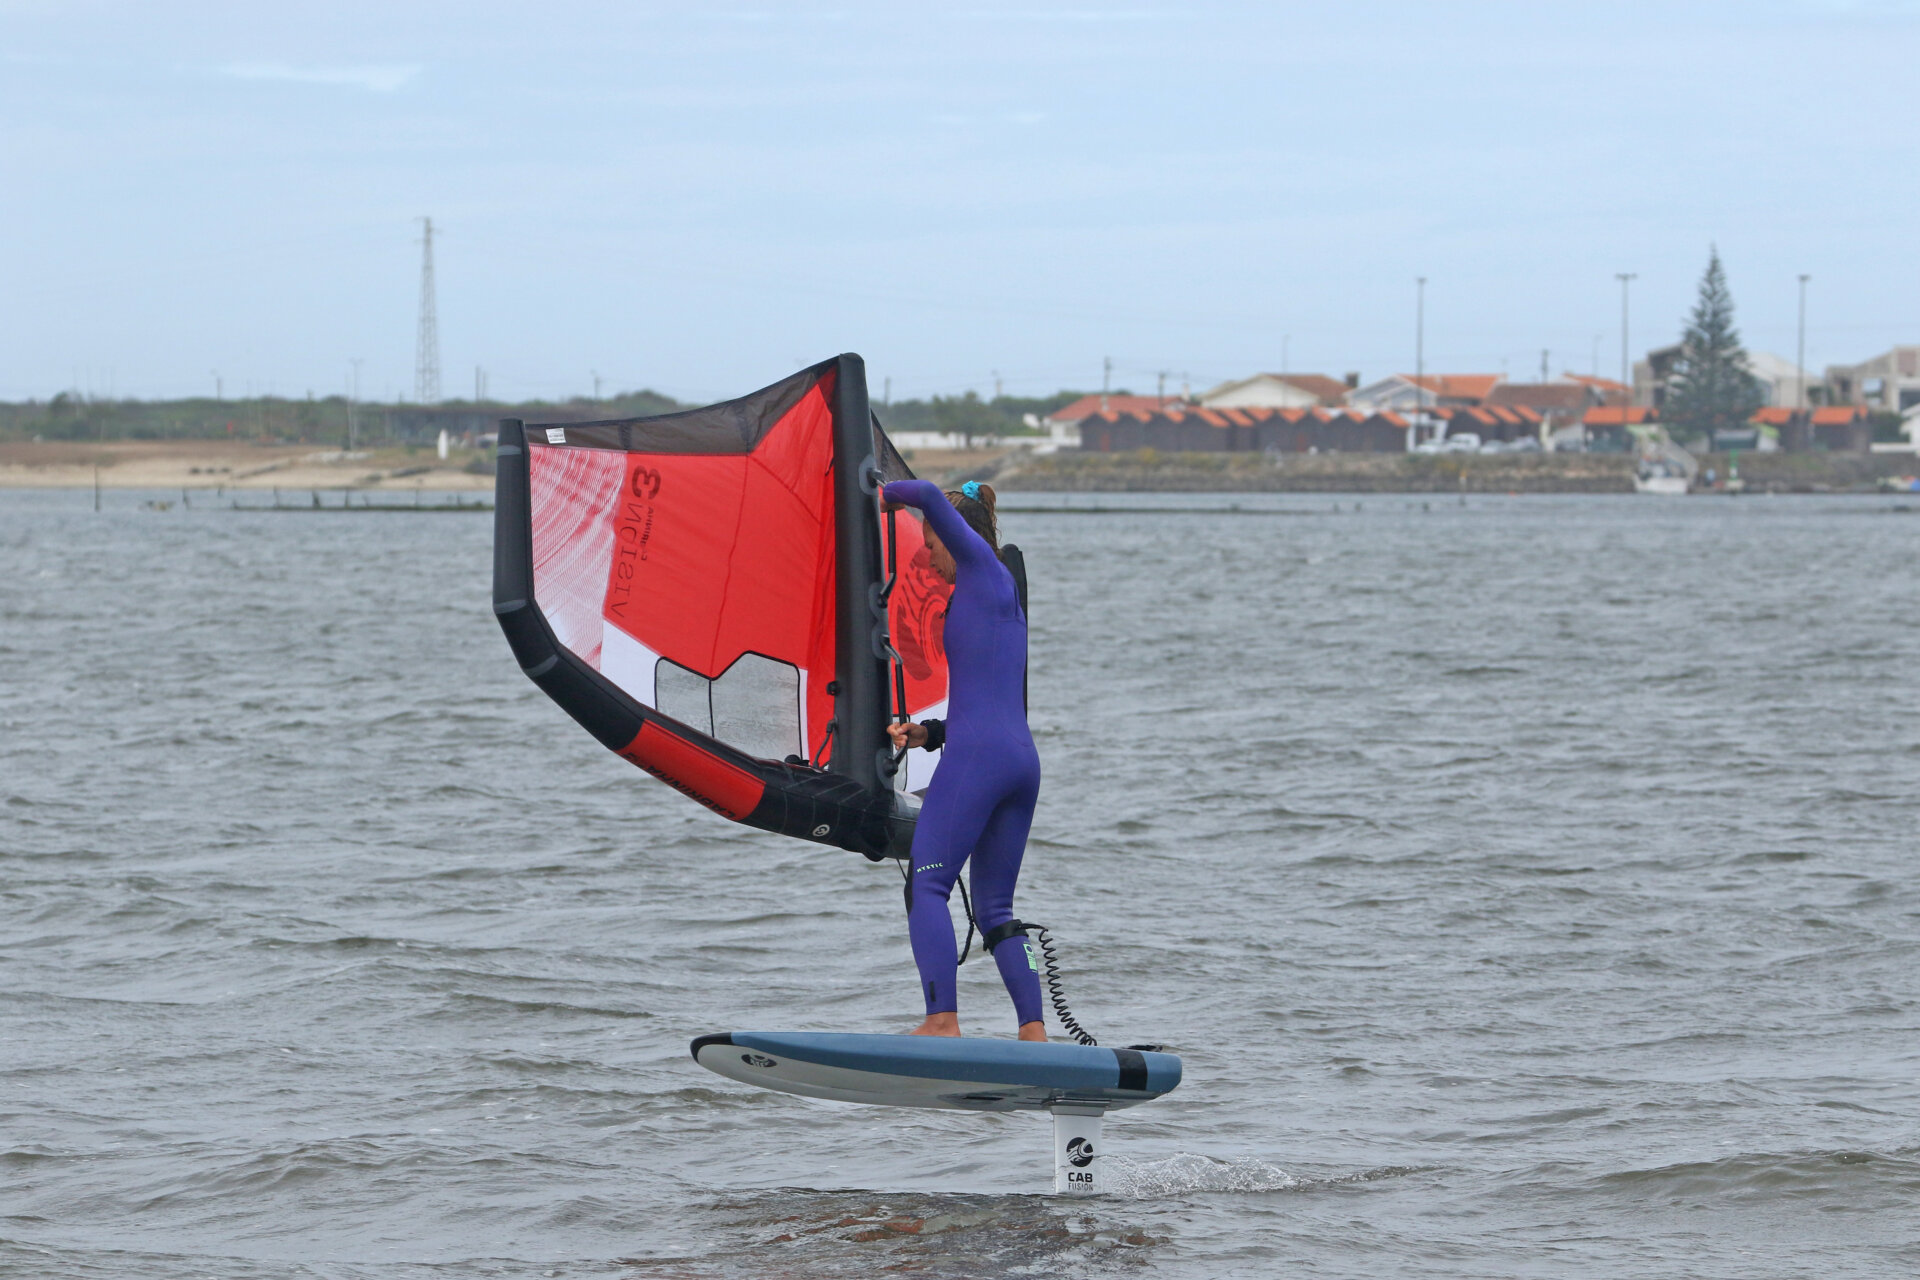
Front Hand Down & In Pic B.
To initiate the duck, Karine pushes her front hand down towards the inside of her turn while keeping her backhand close. Keeping the backhand close will result in a less aggressive movement by the wing once you release.
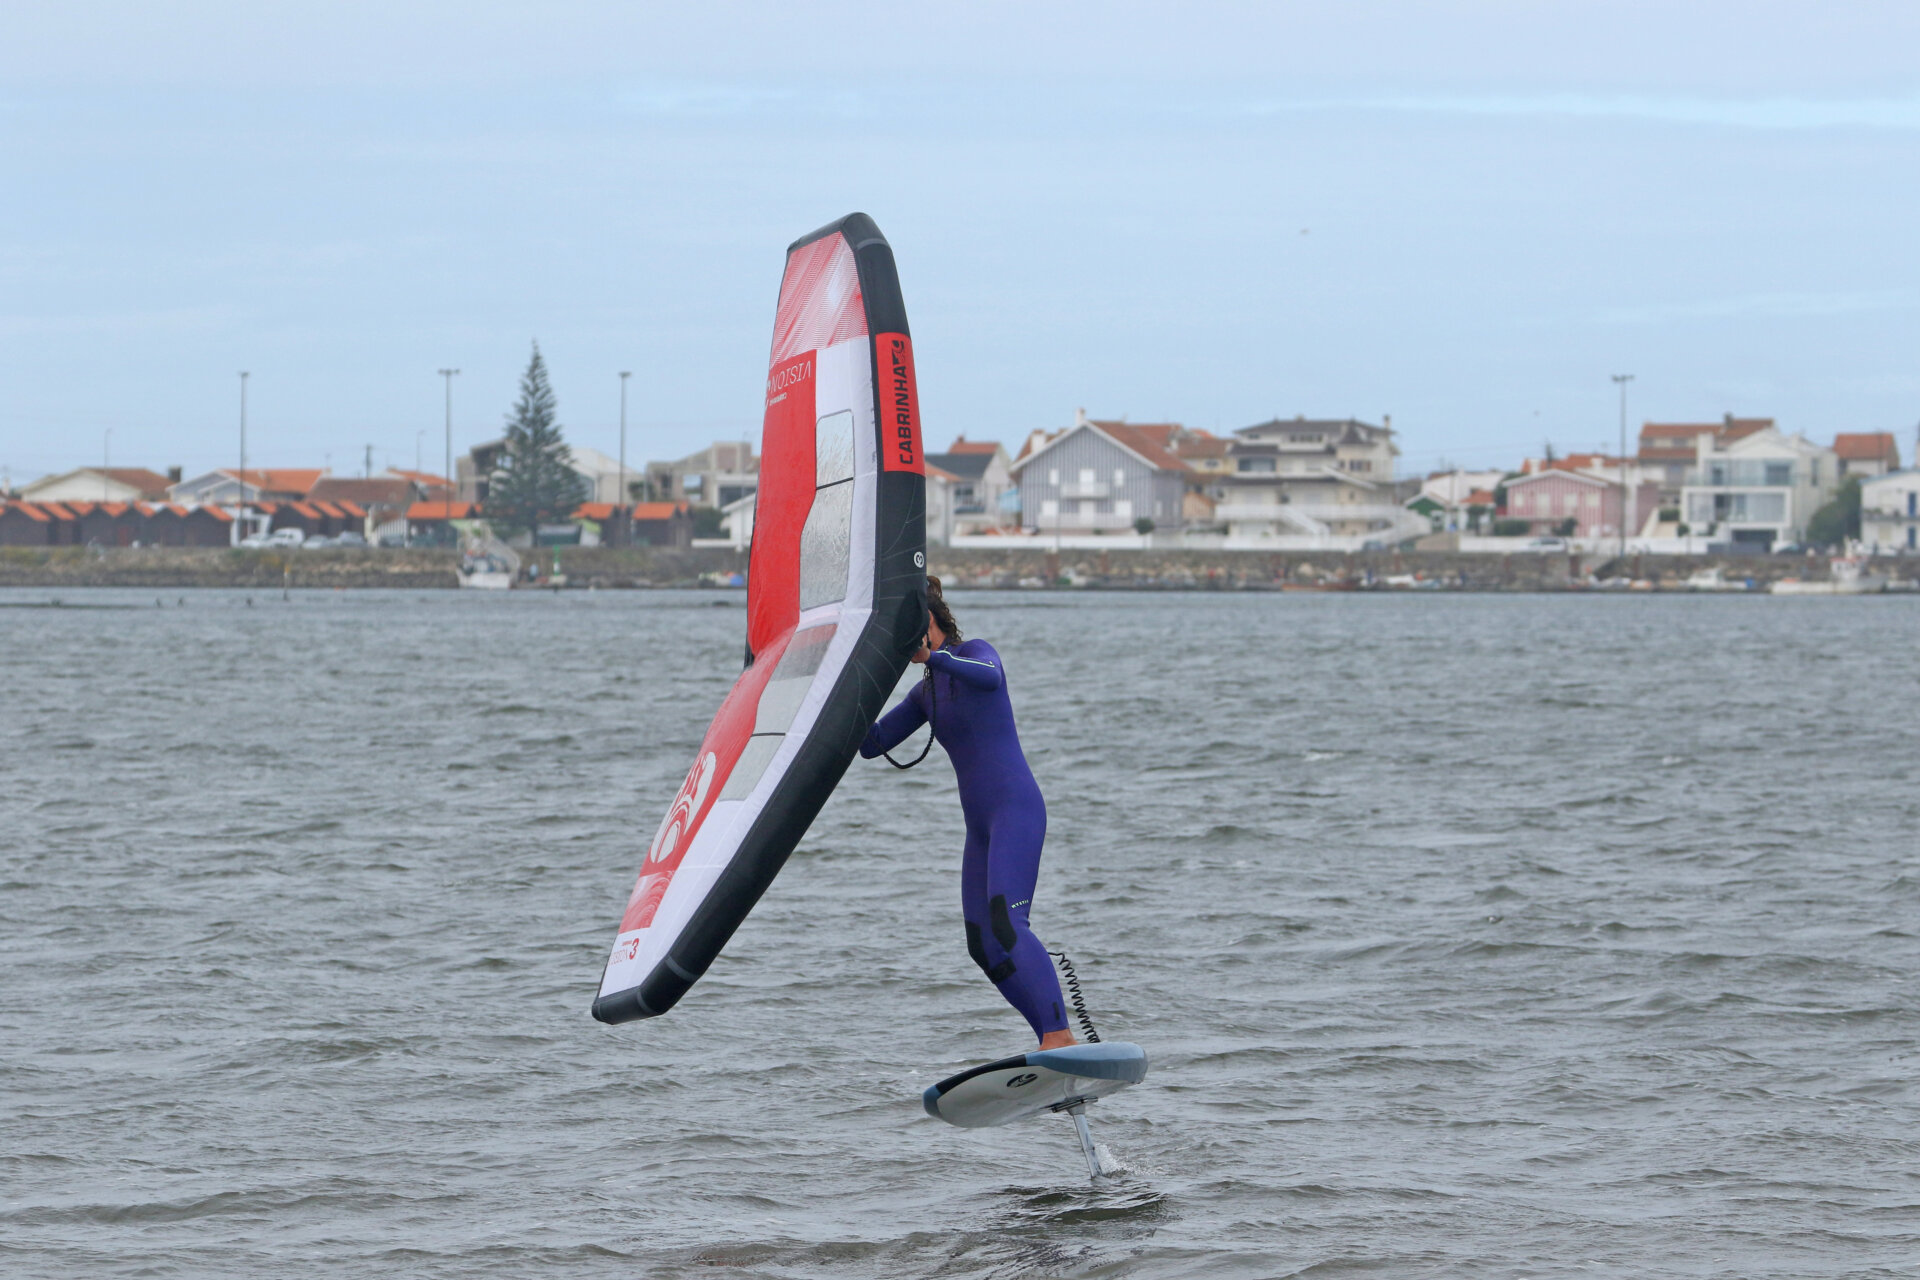
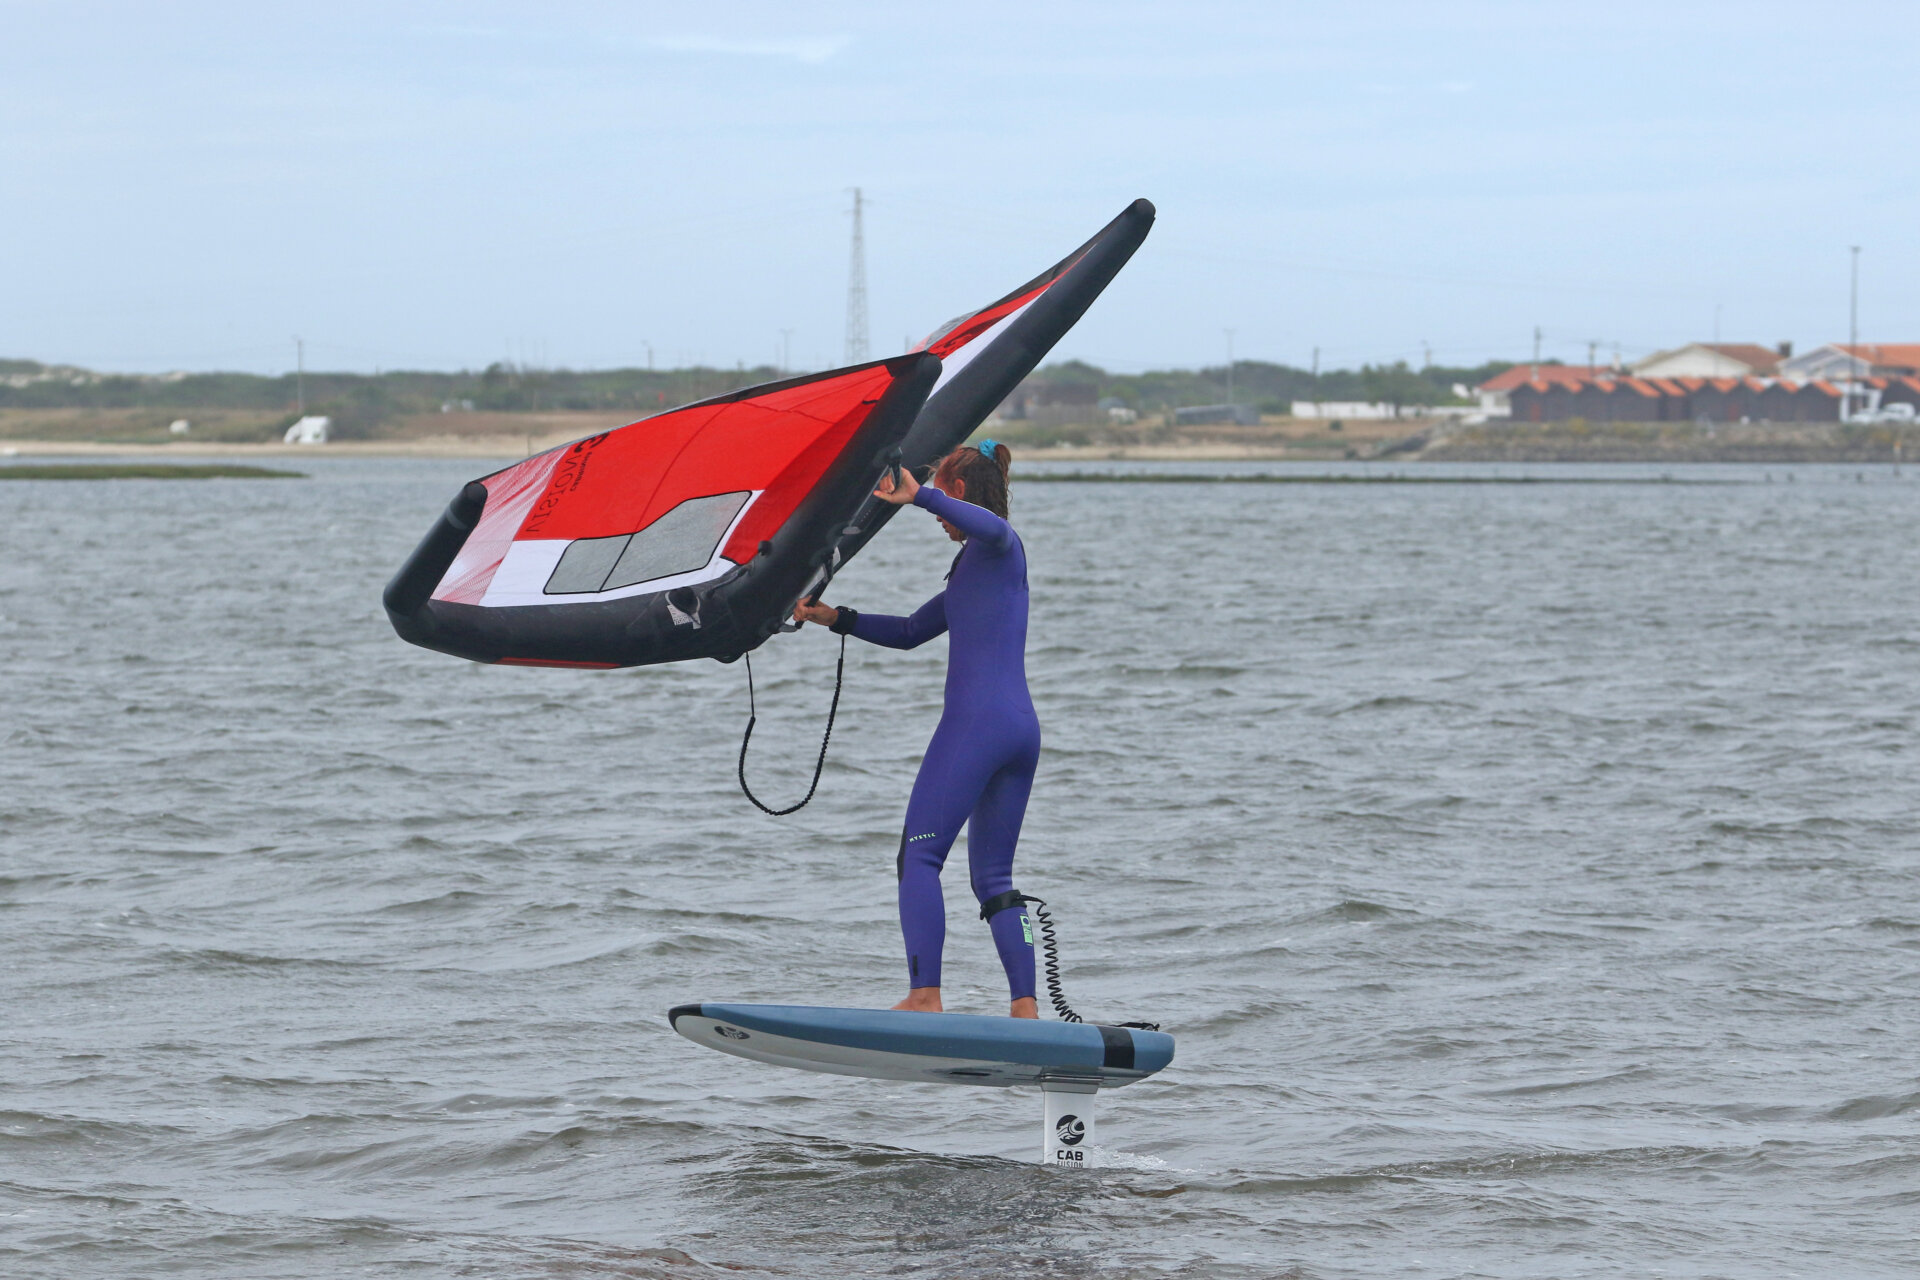
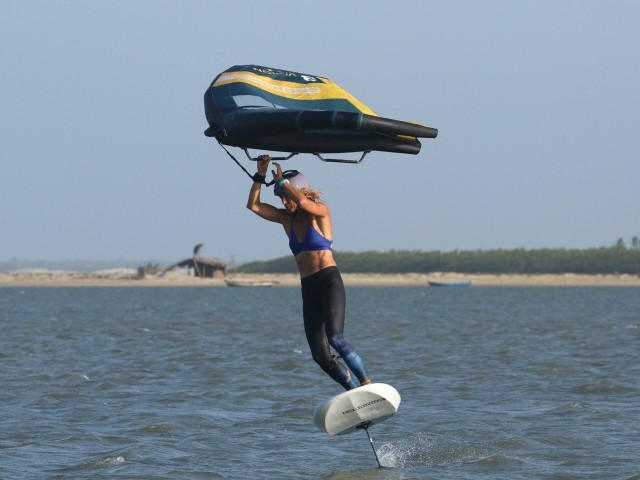
Let Go Pic C.
The moment of truth. With her front hand moving down and toward the inside of the turn, Karine lets go of the front handle, holding on tight with her backhand. If you’re not too powered, the wing will fall gently to the inside. Keep your backhand up to prevent the wing from dropping too low. This is especially important with big wings. Sliding your backhand forward on the handle will help in this scenario.
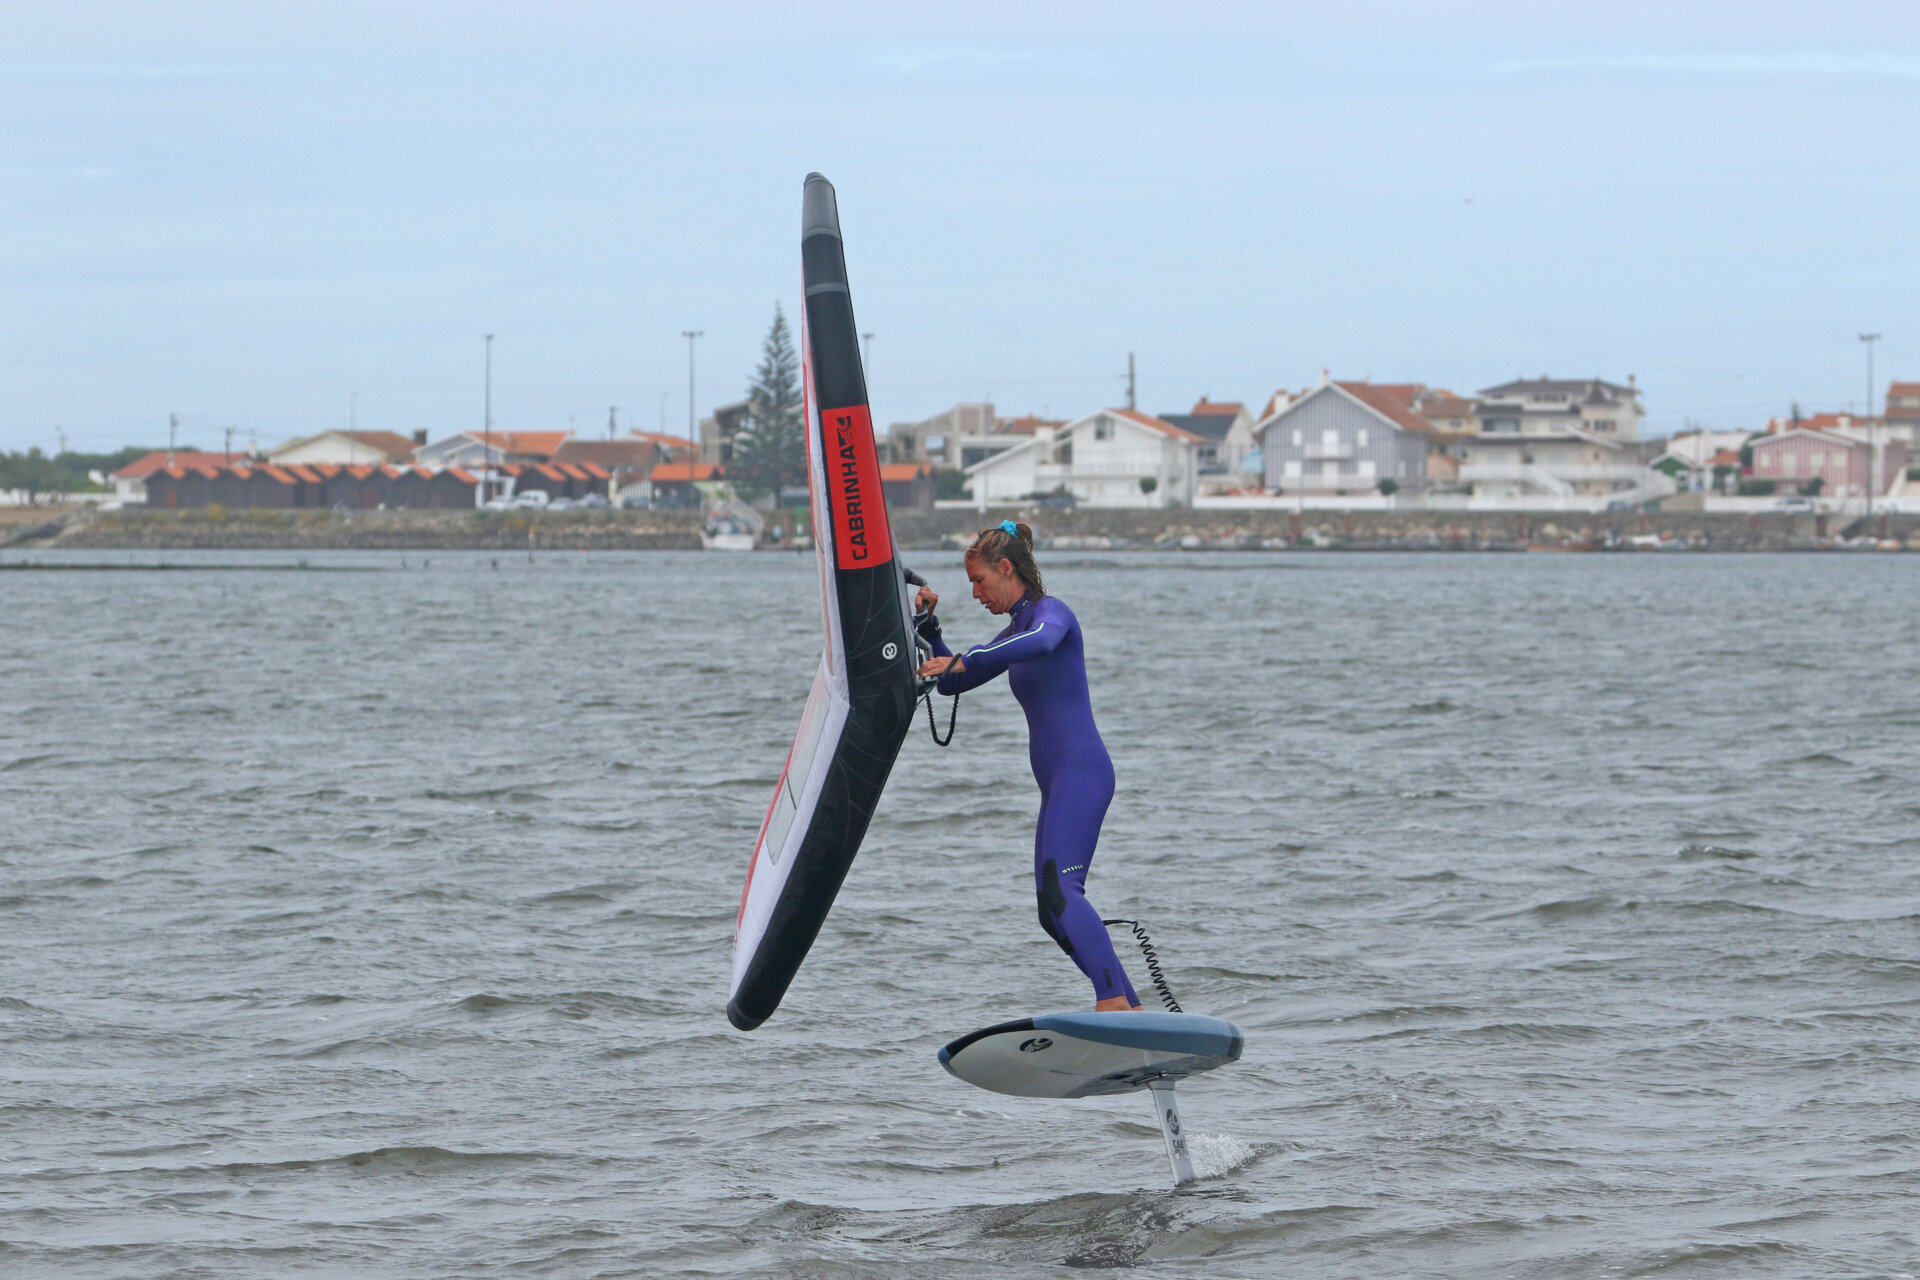
Hand Swap Pic D.
You can see how the wing falls almost parallel to the board's rail. Now, reach your free hand up and grab the back handle. You have two options here. You can reach over as Karine has or go directly to an overhand grip with your new backhand. Or if you have stiff wrists, you can grab it palm facing you (which will require a grip change later on). Once again – keep carving. It’s oh so easy to concentrate so hard on your hands that you stop turning the board.
Front Handle Pic E.
Holding the wing in your new backhand, you can release the other one, reach down and grab the front handle. The wing will feel very close to you, but because you’re in the downwind zone, your hips, board rail and wing are all parallel. You’ll feel no pressure in the wing, so you can keep carving.
This is when you’ll know if you got your timing right. If the wing pulls against your front hand, you’ve ducked too early about downwind. If the wind pushes against the wing from the wrong side, you’ve gone too late!
Front hand Up Pic F.
Lift your front hand and the leading edge to get your wing back into position. Try not to sheet in as you do this. This doesn’t have to be rushed. It’s better to be slightly later once you’ve passed through downwind than before. You’ll have no power from this position until you lift your front hand higher than your rear hand. You'll catch power sooner if you’re a bit early or the wind is strong. In this case, as you lift your front hand, you’ll need to keep it close to your shoulder whilst pushing your back hand down and out so that the wing returns to its normal position more quickly and sheets out as soon as it catches the wind.
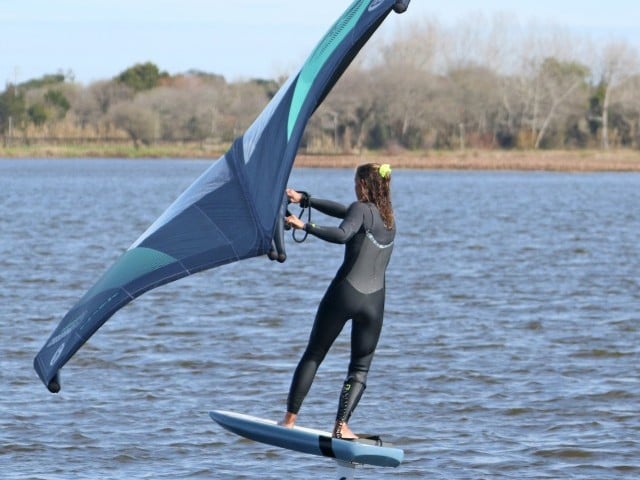
Boom Pic G.
And as if by magic, you’re now heading out on a broad reach toe side with power in your wing. If you swapped hands and your rear hand is now underhand grip, this is the moment to change. Release some pressure by sheeting and twisting your hand into an overhand grip.
Top Tips
It’s worth practising the duck on dry land. It won’t work if there’s wind, so find a spot of grass or sand out of the wind and repeat the wing and hand movements until they become more natural. Inside, you can practice with a broom:) Once you’re happy, take it onto the water.
Light wind is your friend when learning this. Once you’ve got the duck gybe nailed, you’ll be showing off to all the grannies on the sea wall in any wind strength, but less power will make a massive difference in getting the wing into the correct position to duck and then back to riding. As such, it increases your chances of claiming it.
Excellent, enjoy.
C&K
This technique article was in Issue 20 of Tonic Mag.
Related
By Christian and Karine
