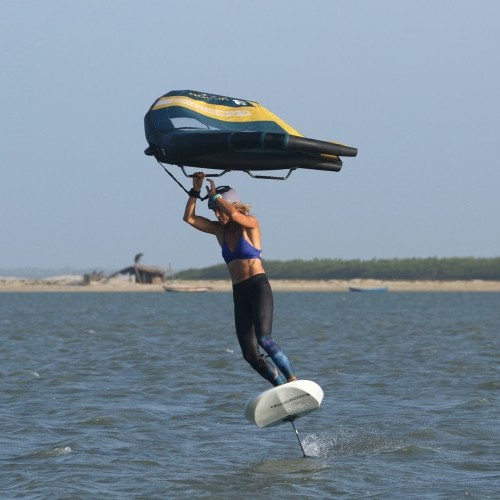
The Toe to Heel Tack
Technique / Wing Foil
If you’re ready to up your game and fancy a new wing foil challenge, tacking is the next logical step. Like a well-crafted corkscrew, the tack is practical and stylish, not to mention blissfully satisfying. Carving up through the wind and exiting on your new tack is the perfect way to change direction quickly and make up ground. Once nailed and firmly stuffed into your box of tricks, the tack will liberate you from only gybing and give you the pleasure of learning something delicious and new.
There are two fundamental tacks in winging. For this issue, we’re focusing on the toe-to-heel, coming in toeside, and exiting heelside. There is no change of feet; they pretty much stay put! Attacking this one first’s probably less complicated, as at least you’ll come out of it onto a strong heelside. If you’re keen on the other one, despair not; we’ll cover the heel-to-toe variant in a later issue. Prerequisites for this tack are a solid, comfortable, balanced toeside. We’ll also assume that you can already gybe, as you’ll need that ankle flexing, knees driving carve position to turn the board up and through the wind. As a Brucey bonus, if you nailed the woffing tack back in issue 18, you’ll already have a good command of the hand and wing movements.
And before we dive into the nitty gritty, we should ensure we’re on the same page! The tack differs from the gybe in that you turn the board into the wind before changing your wing to the other side. At the same time, the gybe involves carving off downwind. Hence, the advantage of a tack is that you don’t lose any ground downwind.
All good? Let’s get involved...
It’s all on your toe side.
We won’t go into the toeside technique, as we’ve covered this in great detail in a past issue. However, no matter how proficient your toeside is, you need it balanced. By balanced, we mean that you don’t use the wing for support to hold you up and keep you stable and on the board. One of the crux parts of a tack is the transition from a driving forward toeside to carving up with little power and no support. Master this, and the process will seem considerably more manageable. As such, before attempting to tack, get practised in riding toeside with little power in the wing, with the wing high whilst concentrating on standing up on your feet. Foot position can make or break this. Once again, a dynamic offset stance can help. Sliding your rear foot further across the centreline will make your foil feel more stable and the eventual carve upwind more intuitive. With this in mind, let’s look at the individual parts in chronological order.
Approach – Momentum Pic A
During the tack, there is a large portion when you won’t have any power in the wing. For this reason, you need momentum and glide to give you any chance of coming out still on the foil. This doesn’t mean that you need to upgrade your kit, but it does mean that you must have everything for your approach; technique is key. Your checklist should look something like this:
- Direction of Travel. You should be winging upwind but not too close to the wind. This way, you can keep speed and build momentum. Keep the wing low and sheeted in for maximum drive while trying to support yourself on your legs.
- Weight centred. Make sure you’re standing equally on both feet so the foil is trimmed from nose to tail. This way, you can keep your balance when you depower the wing and keep the foil trimmed as you carve.
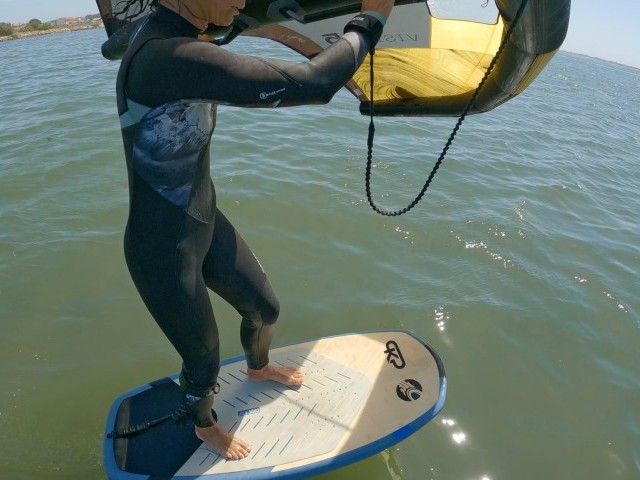
- Dynamic Offset Stance. The tack is a carving move, so you want your body and feet in carvy mode. Placing your back foot further across and pointing slightly forward will help you flex your ankles and knees and allow you to carve and drive the board up through the wind. As a bonus, it helps with your toeside by opening your shoulders, keeping weight on both feet and aiding in sheeting.
- Hand position. This will vary from wing to wing and also depend on wind strength. As you need to take some speed, it’ll be easier if your front hand isn’t too far forward and your backhand is back enough to sheet in.
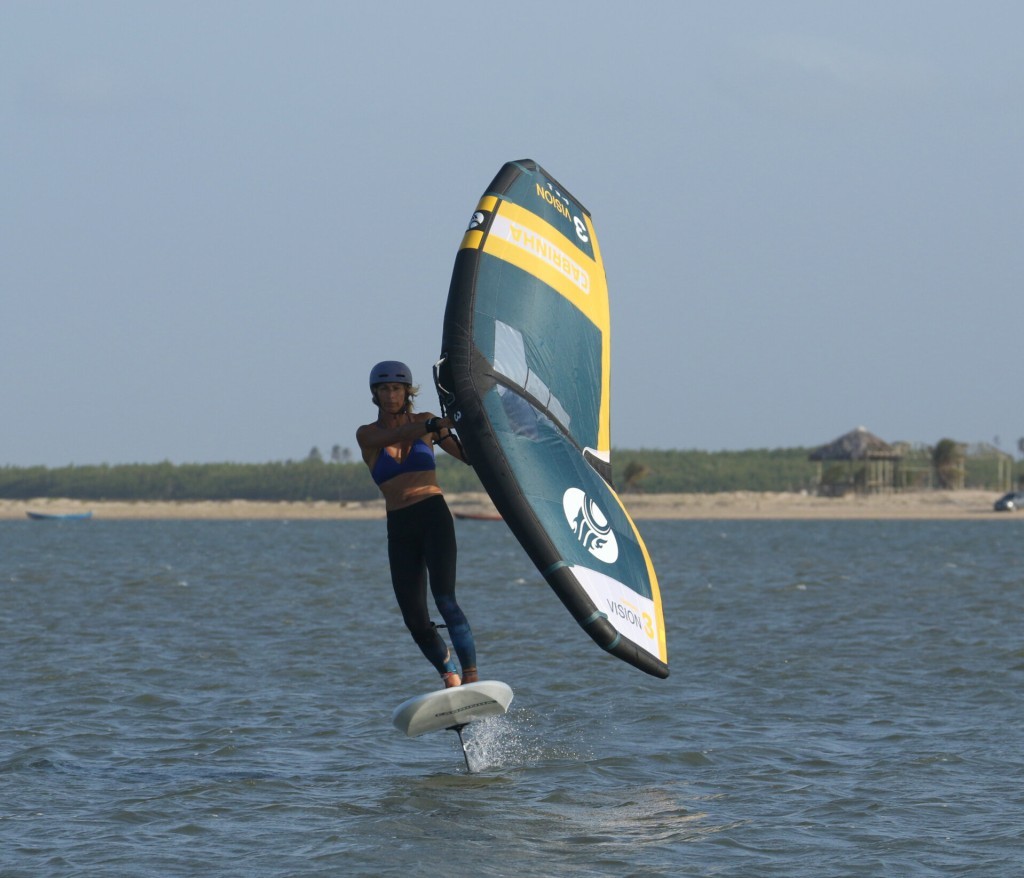
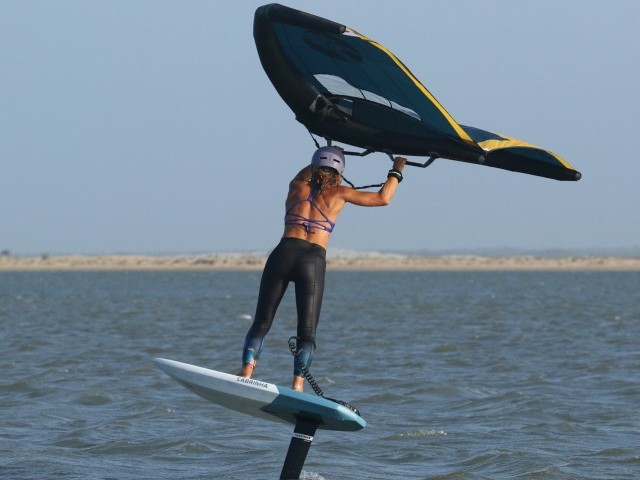
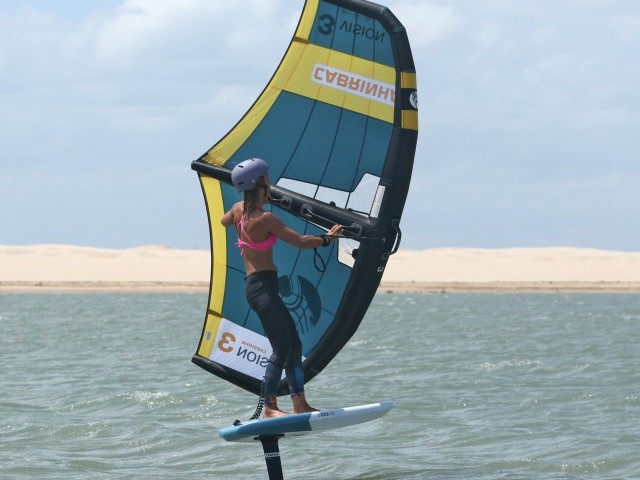
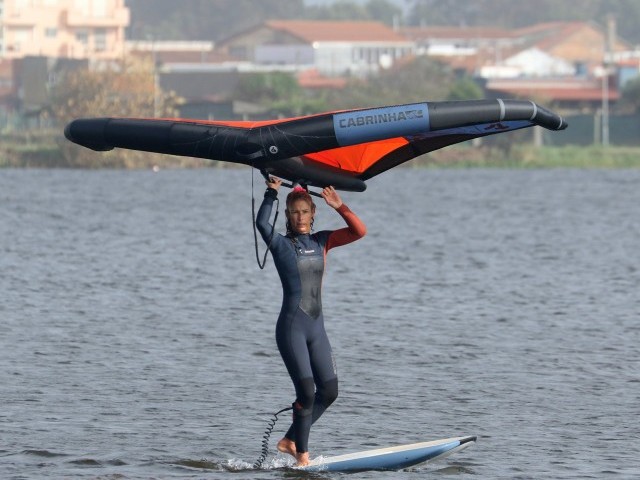
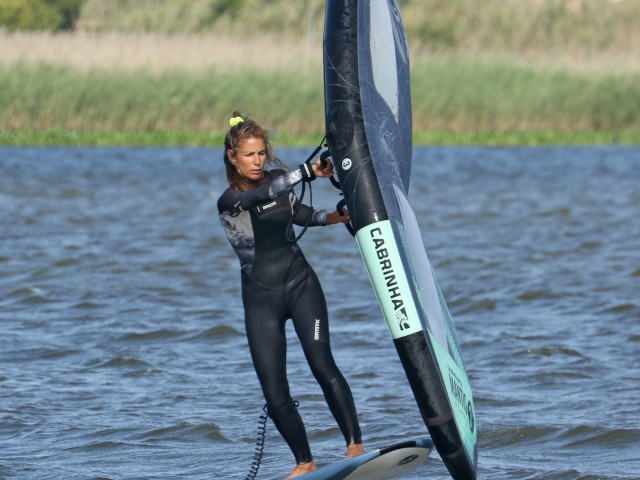
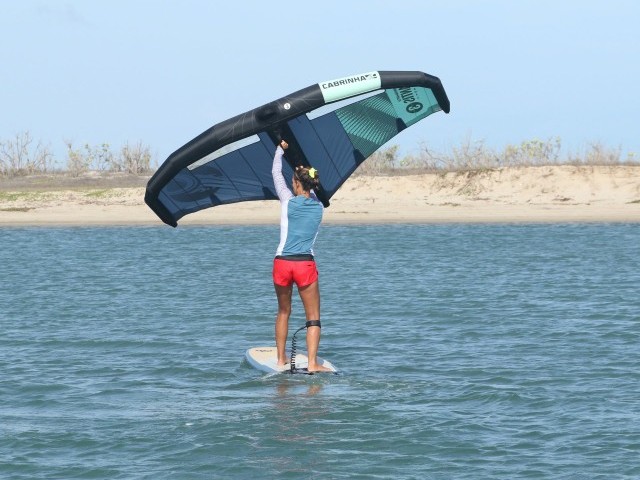
Looking at Karine, she’s sheeted in, riding upwind, wing pointed forwards, balanced over the board, feet offset with shoulders open. Due to the offset stance, her board and foil are trimmed from nose to tail while banked gently from rail to rail. As long as the coast is clear, she’s ready!
Wing Lift Pic B.
To carve up and through the eye of the wind, you need to get your wing floating right above you. If you come from kiting, you’ll understand the term Zenith. If this is gobbledegook and new to you, it’s worth adding to your winging lexicon. In this position, your wing hangs in the air with no pull; it’s neutral. You may recall in the non-foiling woffing tack how you lifted the wing. Here, the movement has to be even more precise as with more wind present; if you do it incorrectly, your wing will do everything in its power to prevent you from tacking.
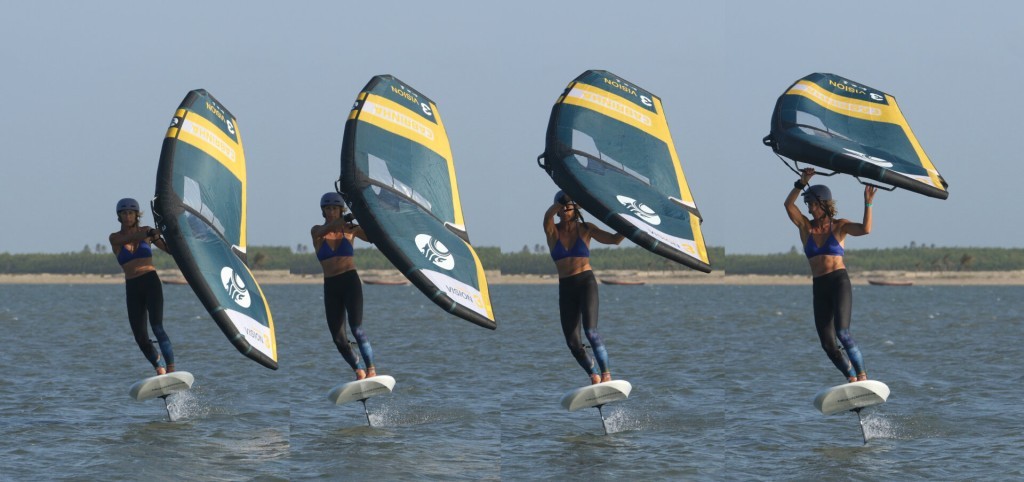
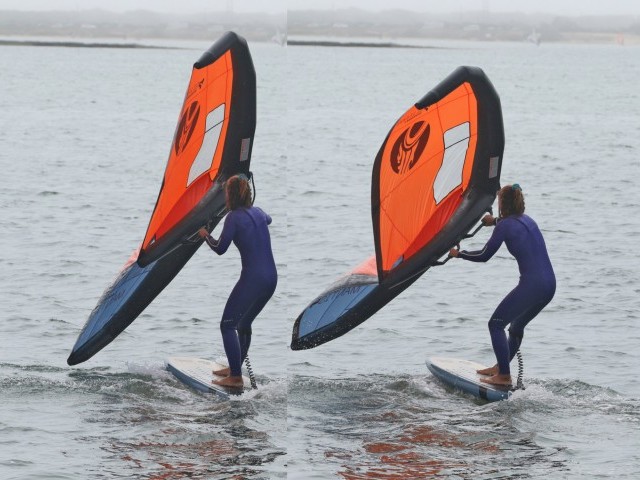
You aim to get the wing up to this Zenith point without it pulling you downwind. The best route for your wing is not the shortest. The plan is to gently sheet out and guide your wing slowly forward and up, around the edge of where it will fly (known as the window), rather than having it powered and pulling you from a downwind position. You want to keep just enough breeze in it to float, but you don’t want any pull.
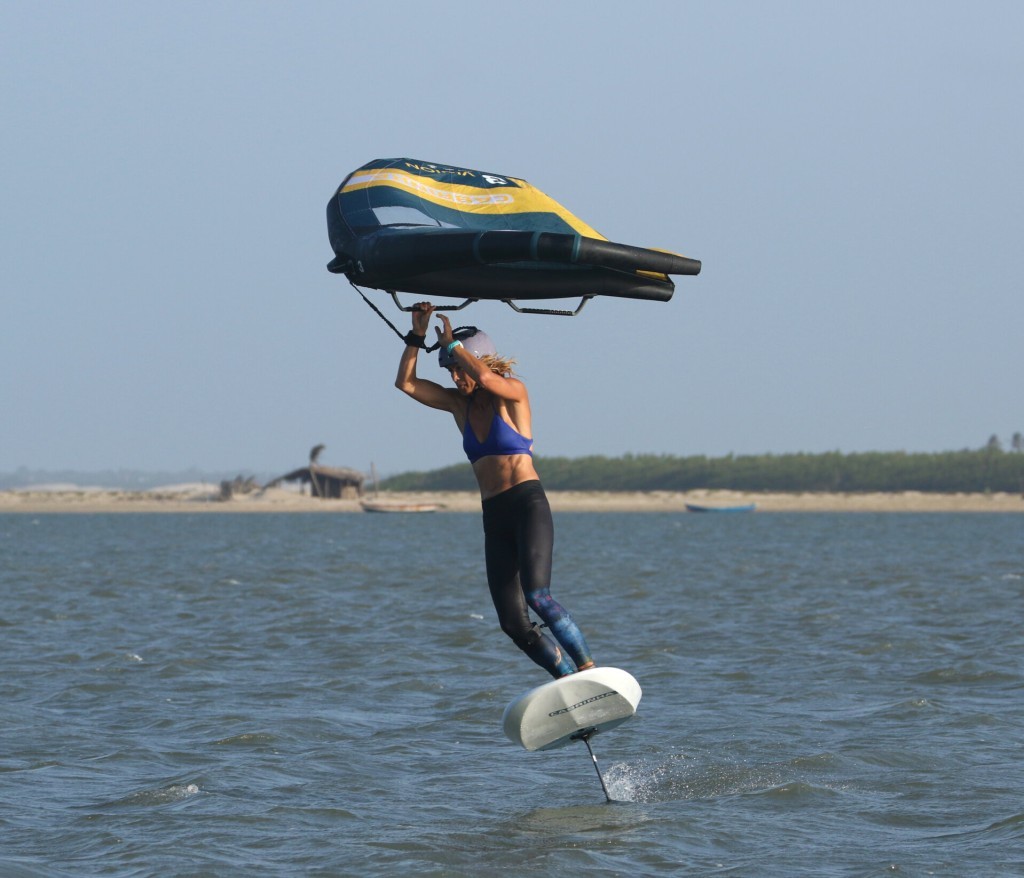
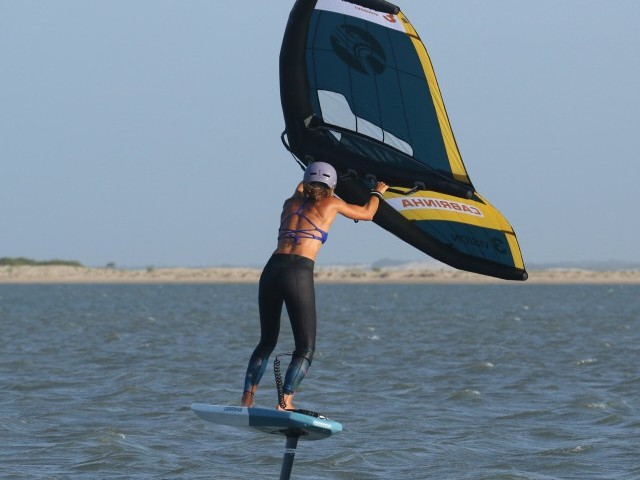
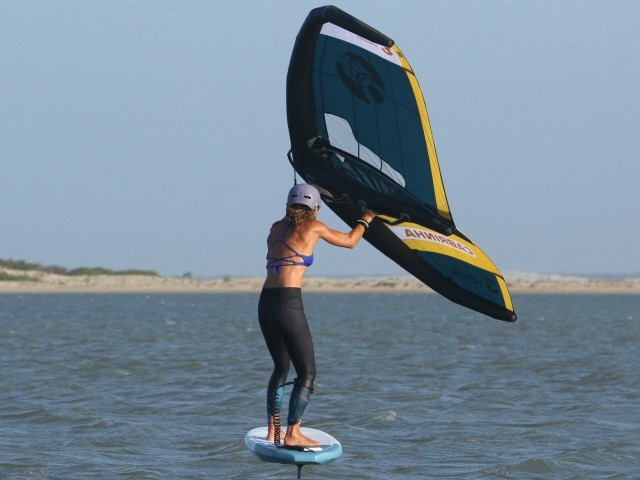
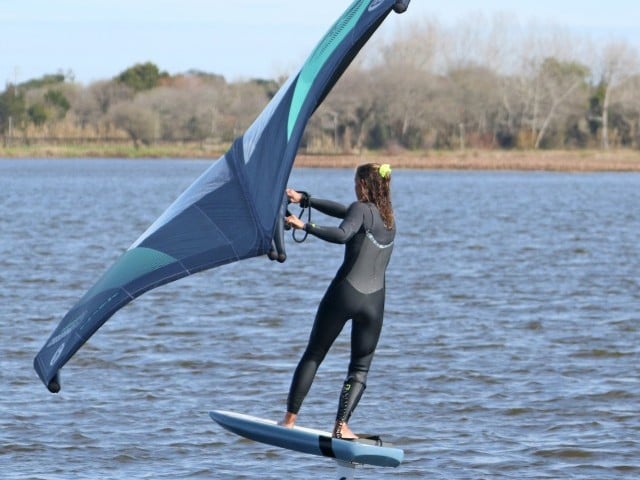
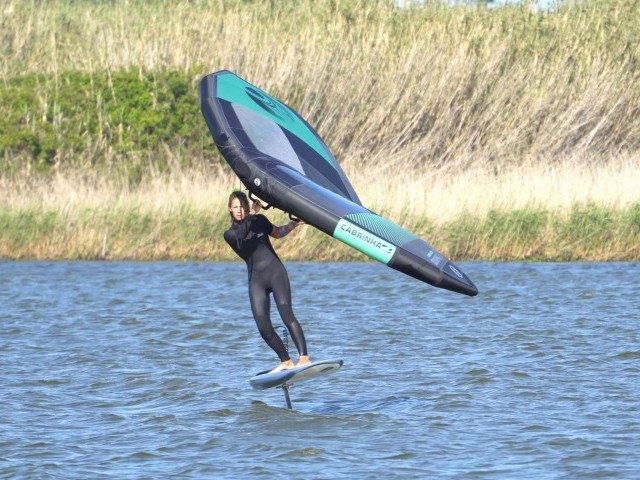
Have a look at Karine in Sequence Pic B. You can see the difference from left to right as she lifts her wing. It starts low and sheeted in; she then eases off the power, and the wing flies further forward to the edge of its window. Karine slowly guides it up with her front hand (as opposed to steering it up by pushing down on her backhand). The wing climbs at the edge until Karine has it directly above her, floating without pressure on the rear hand. The leading edge starts downwind of Karine because the wing is sheeted in and pulling. By sheeting out, it ends up upwind of her, and she can trace the window’s edge. It’s also worth noting that Karine can do this because she’s not relying on the wing for support. As she sheets out and raises the wing, she remains balanced and in control.
Release & Carve Pic C.
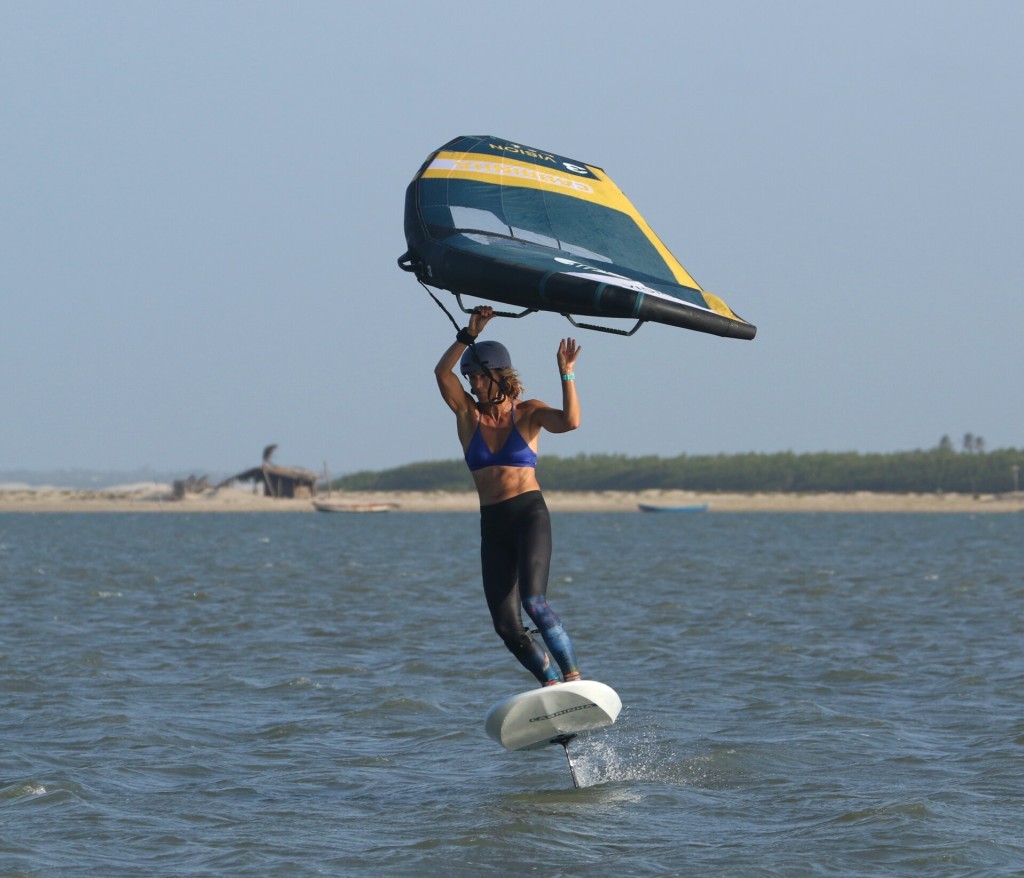
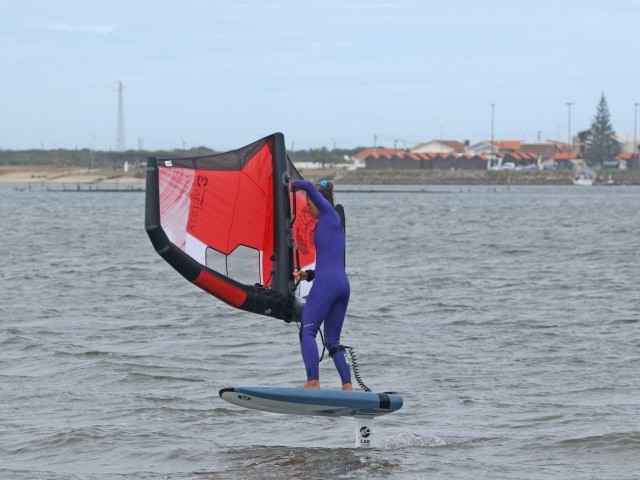
Once the wing is high and without pull, it’s time to carve the board up. Before carving the board, you must release your rear hand and let go of the handle. This way, you can commit to your carve and be in a position for the forthcoming hand swap. The carving action is the same as if you were gybing from heel to toe; it’s just that you’ll be turning up into the wind! Turn your head to look upwind, drop your weight by flexing your knees and ankles, and shit your weight onto the balls of your feet. This will bank the board a touch more and initiate your carve. Looking at Karine, her wing is at the Zenith; she’s released her rear hand, turned her head to look more upwind and is flexing to drop her weight onto the balls of her feet. She remains upright and balanced.
Wing Push Pic D.
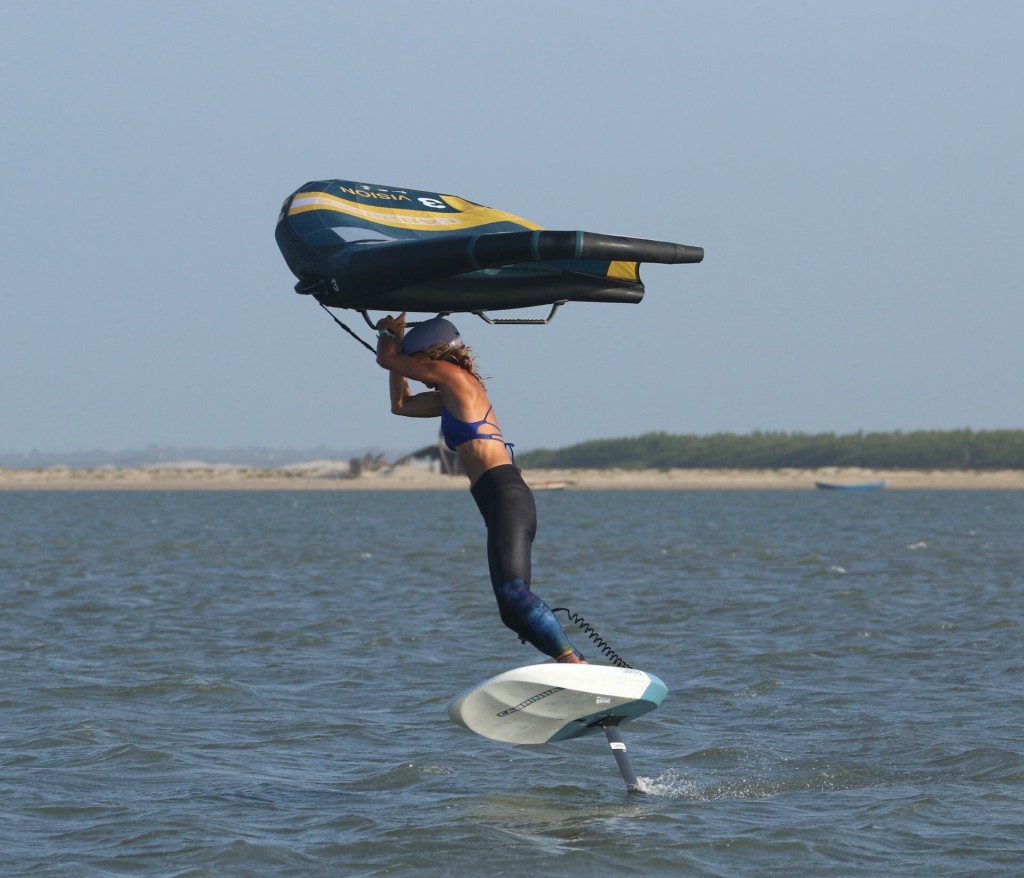
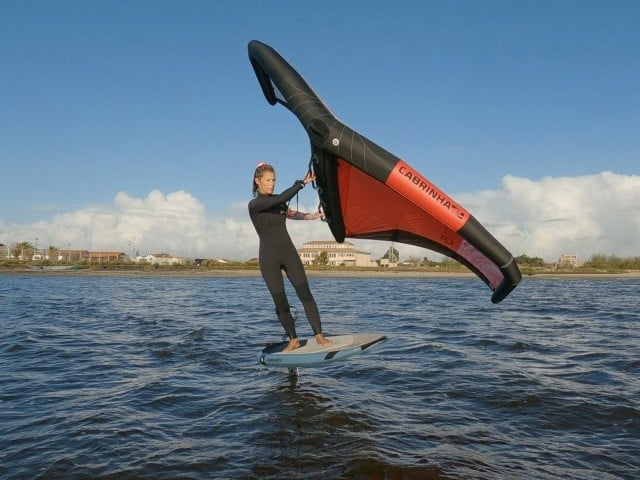
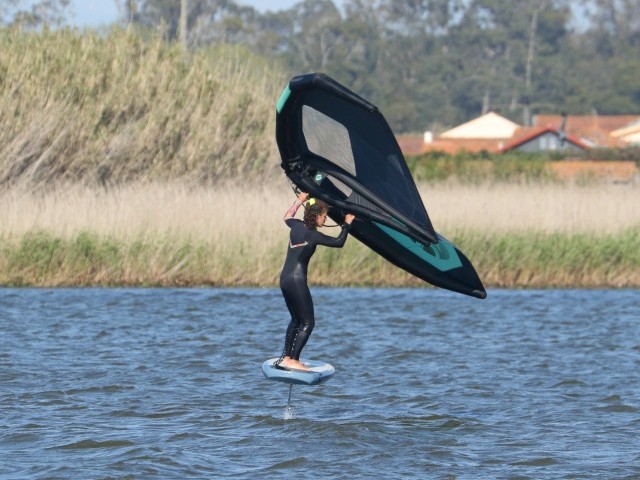
Now that you’ve got your carve on, it’s time to make it count. The more you carve, the more you’ll drive the board around and the more likely you will stay on the foil. You need to take the wing with you; you want to lead with the wing. If you look at Karine and compare it to the last image, she has pushed the wing into the wind by bringing her front hand forward and in front of her. This way, Karine can push her knees and commit her hips more dynamically towards the centre of the carve whilst keeping her board and, ultimately, the foil trimmed from nose to tail. If you don’t get the wing forward and it stays behind your head, it will pull your weight back and encourage the foil to breach.
Hand Swap Pic E.
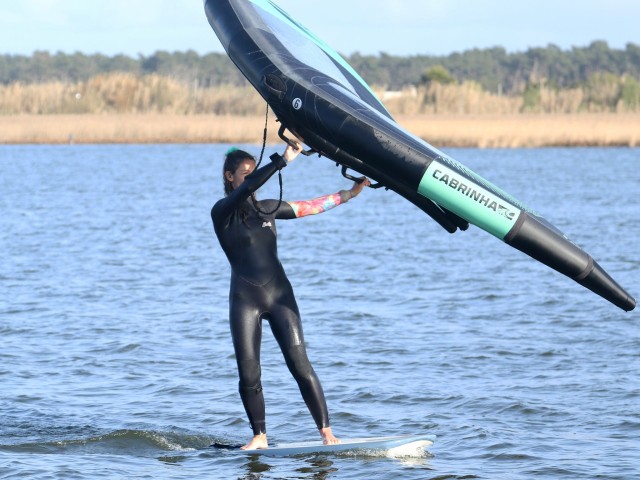
It’s a good time to say that there is no rush. As the board carves into the wind, keep the wing forward in front of you. You’ll know when you’re approaching the head-to-wind zone as the wing will fly over you and the board, and it will feel lighter and more manoeuvrable. Wait for this moment, as you can then push the wing across in front of your face to the other side, which will be the new tack, with little effort. As you push it across, bring your free hand up and grab the handle before releasing your original front hand. This action should already be familiar:) As Karine’s board turns into the wind, you can see that it is pointing in the same direction as the wing. Karine’s still very much committed to her carving and concentrating on keeping the wing forward to keep the foil trimmed. She feels the lightness as the wing and board line up and pushes the handle across to the other side before swapping hands. Once you release your original front hand, keep the wing forward.
Rear Handle Grab Pic F.
With your wing held forward and now on the new side, you can grab the rear handle. Don’t turn your head back to look for it, as this will shift your weight onto your rear foot and stall your foil, which will now be on its last legs of lift. Keep looking forward and reach for the handle as you turn onto it. Karine is focused ahead, keeping her wing high and forward. She reaches for the handle without looking back and concentrates on keeping the board and foil trimmed to nurse it around the final few degrees.
Patience – Keep Carving Pic G.
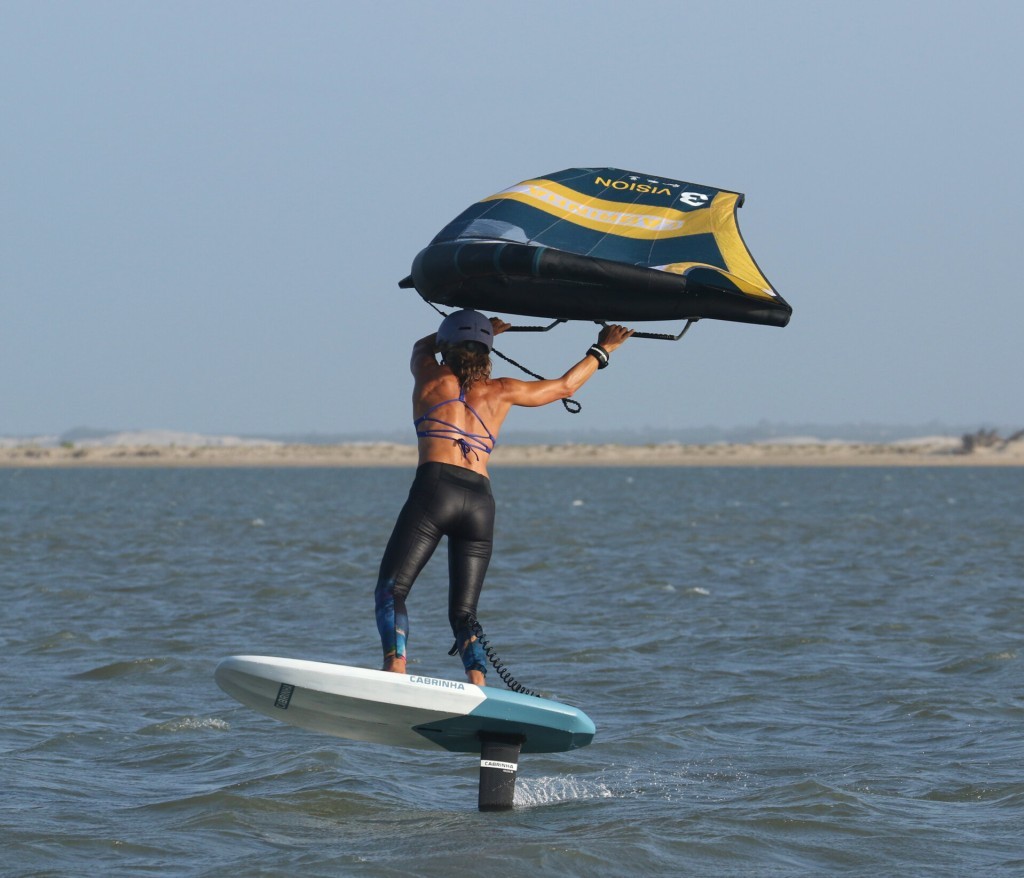
When your rear hand is on the handle, every cell in your body will scream for you to sheet in for power. Ignore the noise and continue your carve, keeping the wing away from you and forward. You need to turn and carve far enough until you’re in a position to sheet in. If you go too early, you’ll stall your wing, stall your foil, and, at best, pivot around your mast and touch down. Here, Karine keeps everything high and forward whilst concentrating on trim. She’ll now be moving slowly, and the slightest lift of her nose will kill everything.
Power On Pic H.
You’ll know when you’ve carved enough as the wing will come down into its normal riding position, pointing forward and ready to catch some wind. Once you feel it coming down, it’s time to power up. Pulling your backhand in towards your shoulders whilst extending your front arm away and in the direction you want to go. As the power comes on, drive through your front leg, flattening the board and breathing life into your foil. Karine sheets in, keeping the wing forward and away from her, driving through her front leg to level the board off and accelerate out of her tack.
Claim It Pic I.
If all goes well, you should aim to come out of your tack across the wind (once fully nailed, it can be more upwind). Get the board trimmed from nose to tail and rail to rail, as this will cheer up your foil and keep you flying. You can see that Karine is over the board, powering it up and accelerating. Once you’re happy everything is in order, you can shift your weight and feet for your next run.....
Top Tips
- Don’t rush. While learning to tack, it’s easy to fall into the trap of thinking that the sooner you get the power back on, the more likely you are to stay up on the foil. You should rather focus your efforts on keeping your foil happy. If you do this, you’ll be afforded more time, so you won’t need to rush.
- At first, you’ll likely drop off the foil once you get the new rear hand back on the handle. The more proficient you get at keeping the wing forward and not reaching back, the more likely you are to stay up.
- You’re likely to fall when learning anything new, so if you’re riding a small board that you struggle to get back on, you’ll lose motivation sooner than if you’re riding something you can jump back onto in a jiffy.
- Finally, pick appropriate conditions if you can. If you’re very powered, the wing will want to pull you back, so choose a day when you’re in charge.
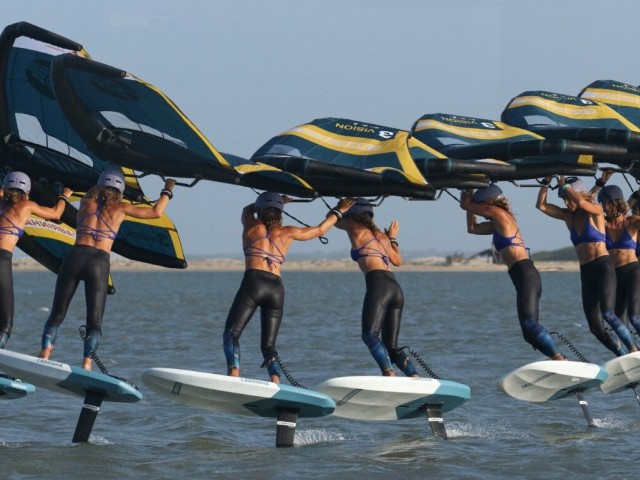
Now, look at the full sequence to get a step-by-step idea of what’s going on, and watch the TONICMAG YouTube channel for the upcoming video.
Excellent, enjoy the challenge, and we’ll see you next time.
This technique article was in Issue 22 of Tonic Mag.
Related
By Christian and Karine


